
Before Custom GPTs
OpenAI launched Custom GPTs a couple of months ago, and although I have been having a lot of fun with these, I still haven’t published anything about them.
I recorded this (silent) screencast today to illustrate how simple it is to create one of these agents for Morfternight, my weekly newsletter, then I realized I could as well publish the explanation here on the blog.
I’ll assume you have heard of ChatGPT.
When working with ChatGPT, one year ago, one of the annoying parts was that everything had to be included in the prompt, the message one sends to the AI agent. For a while, this led to creating snippets of text expandable with a tool like Raycast, Alfred, or TextExpander.
A few months ago, OpenAI added “Custom instructions.”
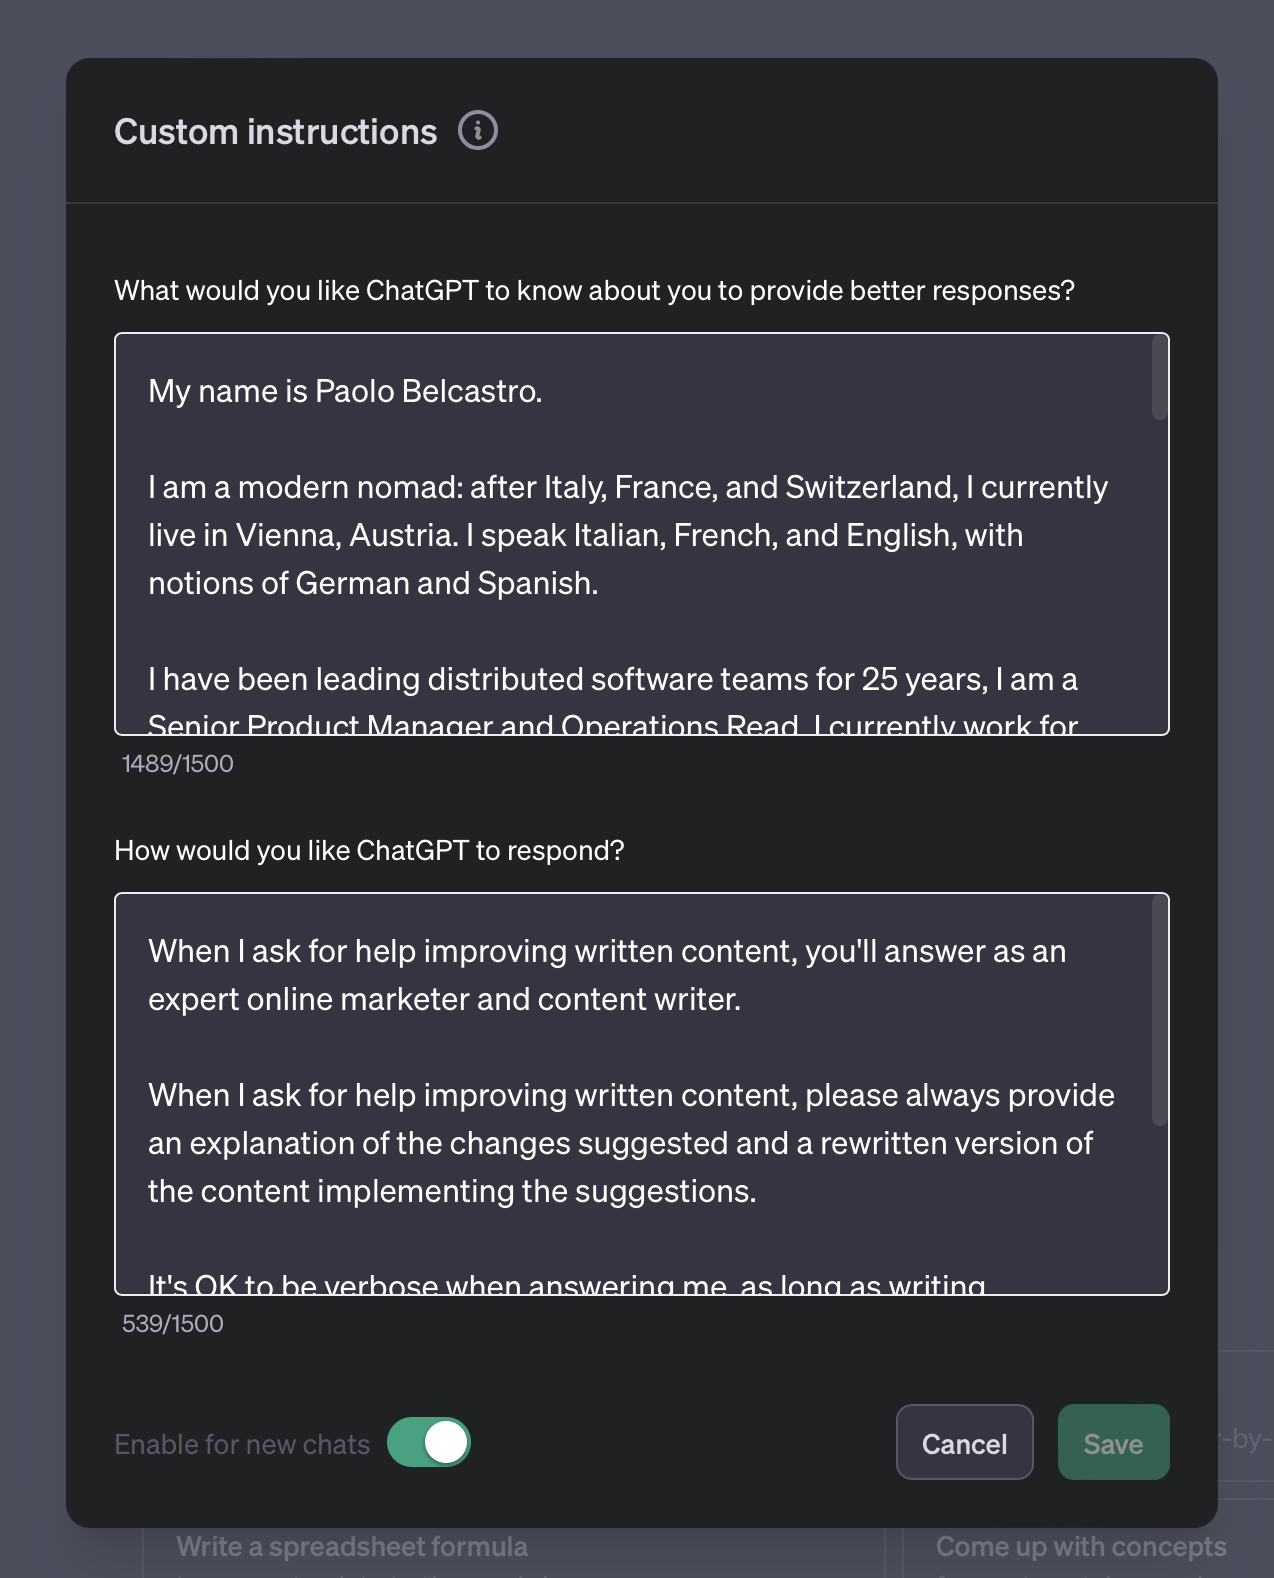
Custom instructions offered the opportunity to share some information about the user, as well as some requirements about how ChatGPT should respond, and remove the need to add these to each new chat.
That’s great, but didn’t truly remove the need for expandable snippets. I don’t know about you, but I use ChatGPT in different contexts, where I want it to answer differently. So I have a set of instructions for when I use ChatGPT to help me write an article, another one for when I am writing work related articles, and a third one for when I am writing code.
Enter Custom GPTs
With this new approach, OpenAI allows us to create specialized agents, for specific purposes.
The specialization, though, goes way beyond a customized prompt (although that is pat of it).
These agents can browse the web when required, they can create images and look at images, and they can run code as well. Last but not least, an agent can access external APIs, to interact with third-party services.
In today’s example, we won’t leverage API access because I wanted to first showcase the most fascinating part of the process: to program a Custom GPT, one simply chats with ChatGPT! No code involved, no programming skills required.
In the example below, you will see the creation of “Agent Blog” (yes, I name all my AI agents “Agent something”), a GPT whose role is to answer questions about the content of this blog. The GPT generates a search query related to the question, then looks at the first three results of the search, and uses their content to answer the original question.
Another GPT I use regularly, and I mentioned yesterday, is Agent Photo. Agent Photo expects the user to upload a black and white street photo, and in turn provides an ALT text for the image, a reflective legend, and three proposals for a title. You can see this one at work on monochrome.blog
A third one, Agent Feature, reads a blog post draft like this one, and generates a featured image based on some stylistic instructions I provided. You can see its work at the top of this post.
These two were also created only through a simple chat with ChatGPT.
I’ll leave it here for today, hoping this encourages you to try building your own Custom GPTs. In the near future, I’ll show how to extend the GPTs knowledge, to content that can be provided, and capabilities, through external APIs.
Please tell me if you experiment with these!
Leave a Reply