
Discover more from Some Nice Things
Why I love the IKEA Besta for organizing anything
The IKEA Besta cabinet and Kuggis bins are the perfect combination for literally any room in any house
Even if you’re a Marie Kondo disciple who constantly throws things out, you probably still own stuff that needs to be organized and isn’t attractive to look at. Like Band-Aids. Advil. Toothpaste. Routers and modems. Extra grocery bags. Cleaning supplies.
My answer to all of the above is always the IKEA Besta. I strongly believe that it would be a useful, attractive addition to nearly any room of your house. It’s the solution to your organizing needs.
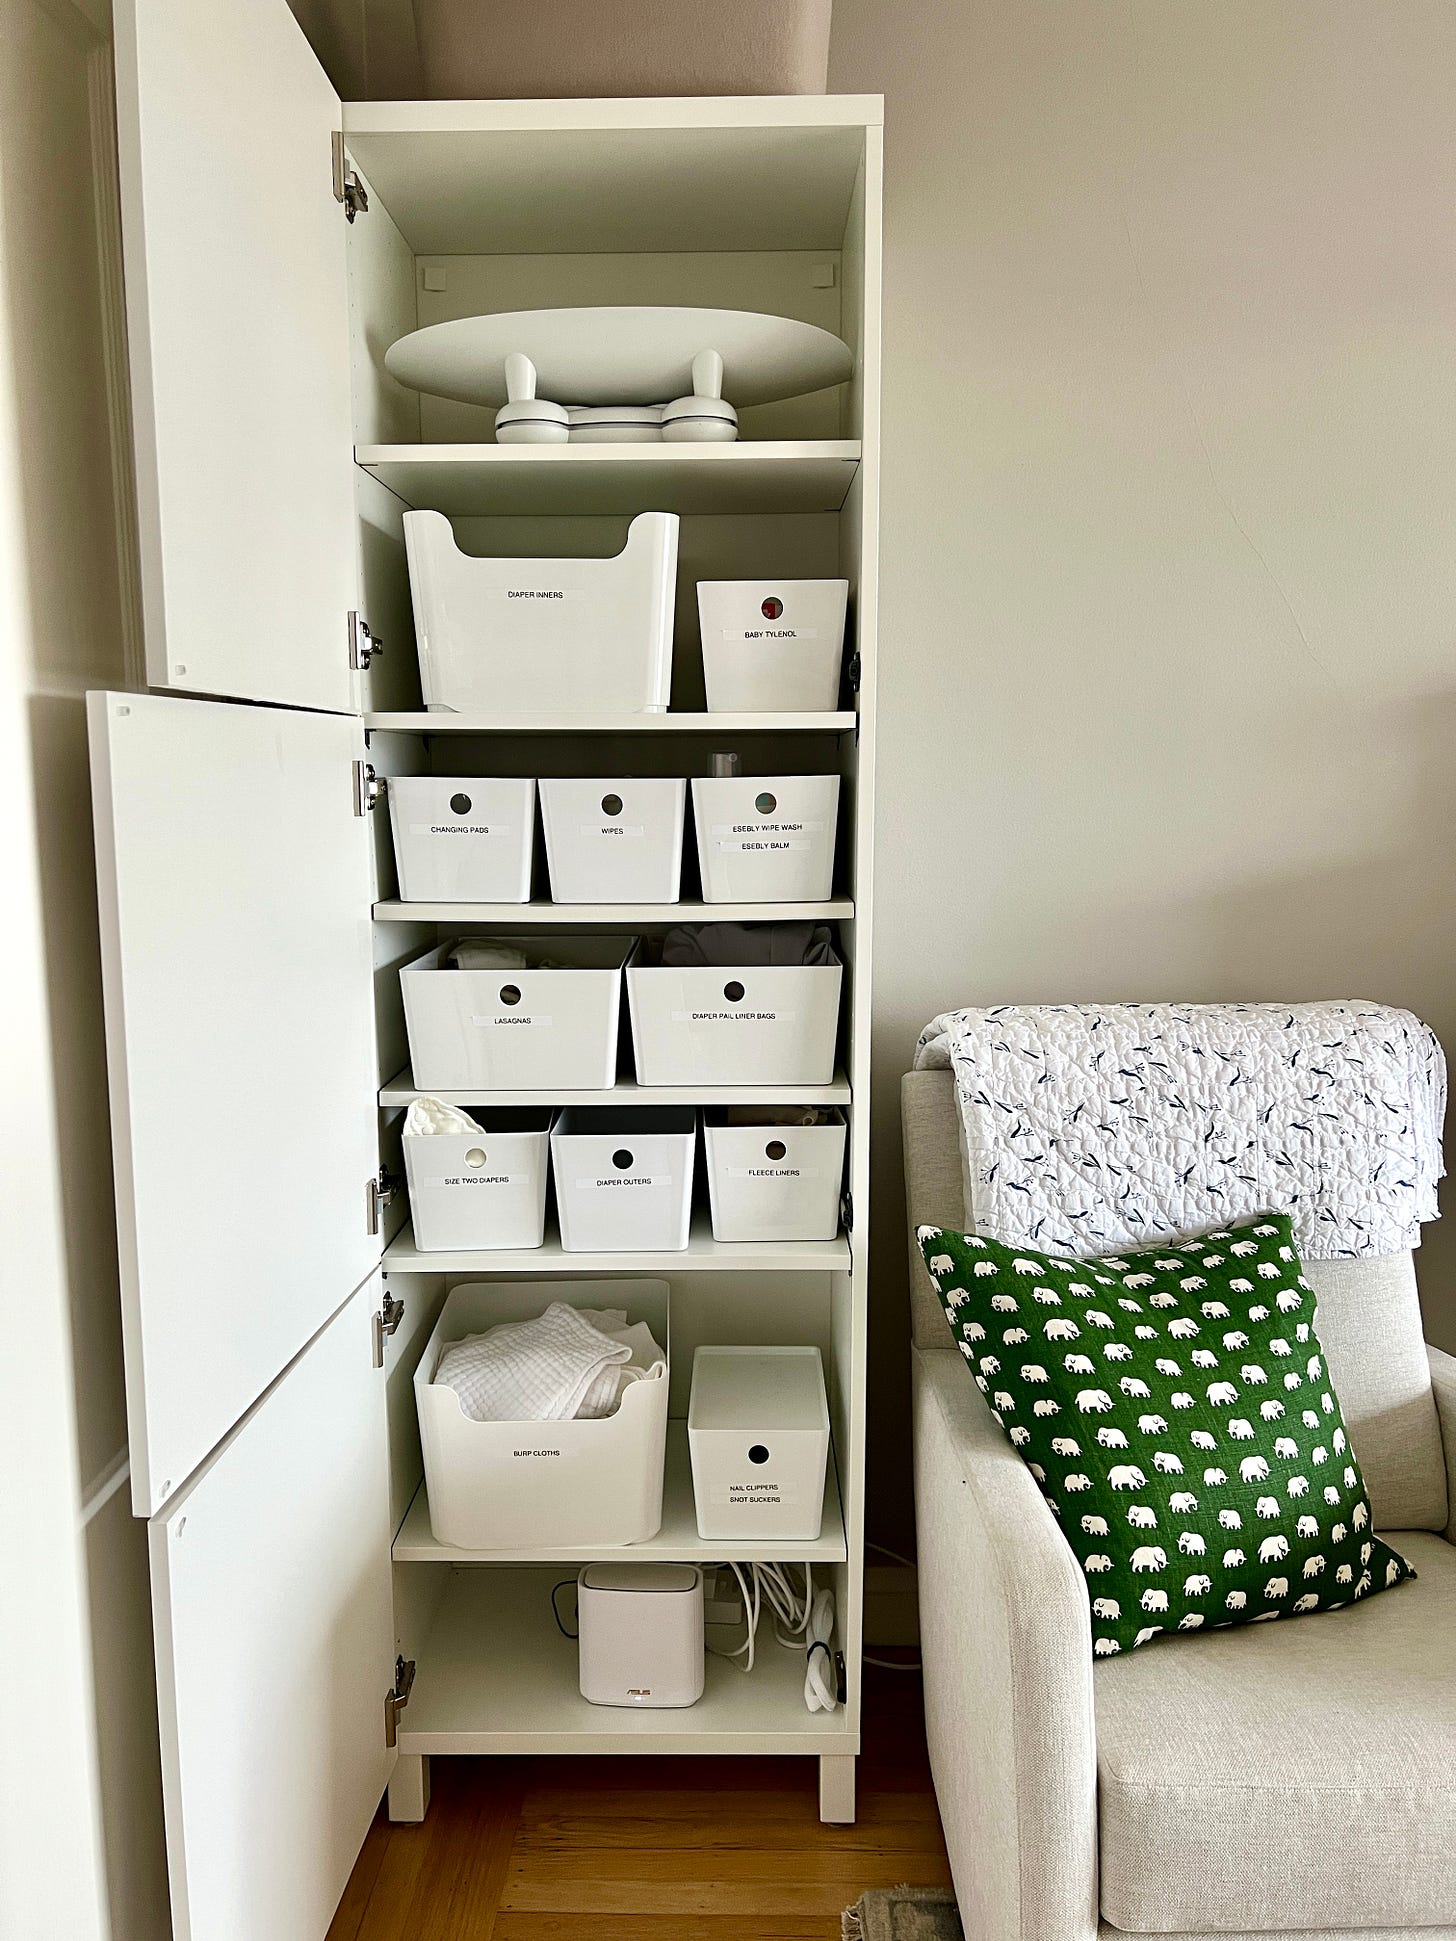
The Besta is a Mary Poppins carpetbag and it just holds an unbelievable amount of stuff without looking like it from the outside. My favorite combination is the Besta with the IKEA Kuggis bins to hold everything inside. I use my beloved label maker to label all the Kuggis bins, so when I open the doors I can see with an easy glance where everything lives. Yes, your family might think you’re nuts, but you’ll be able to find your extra toothpaste.
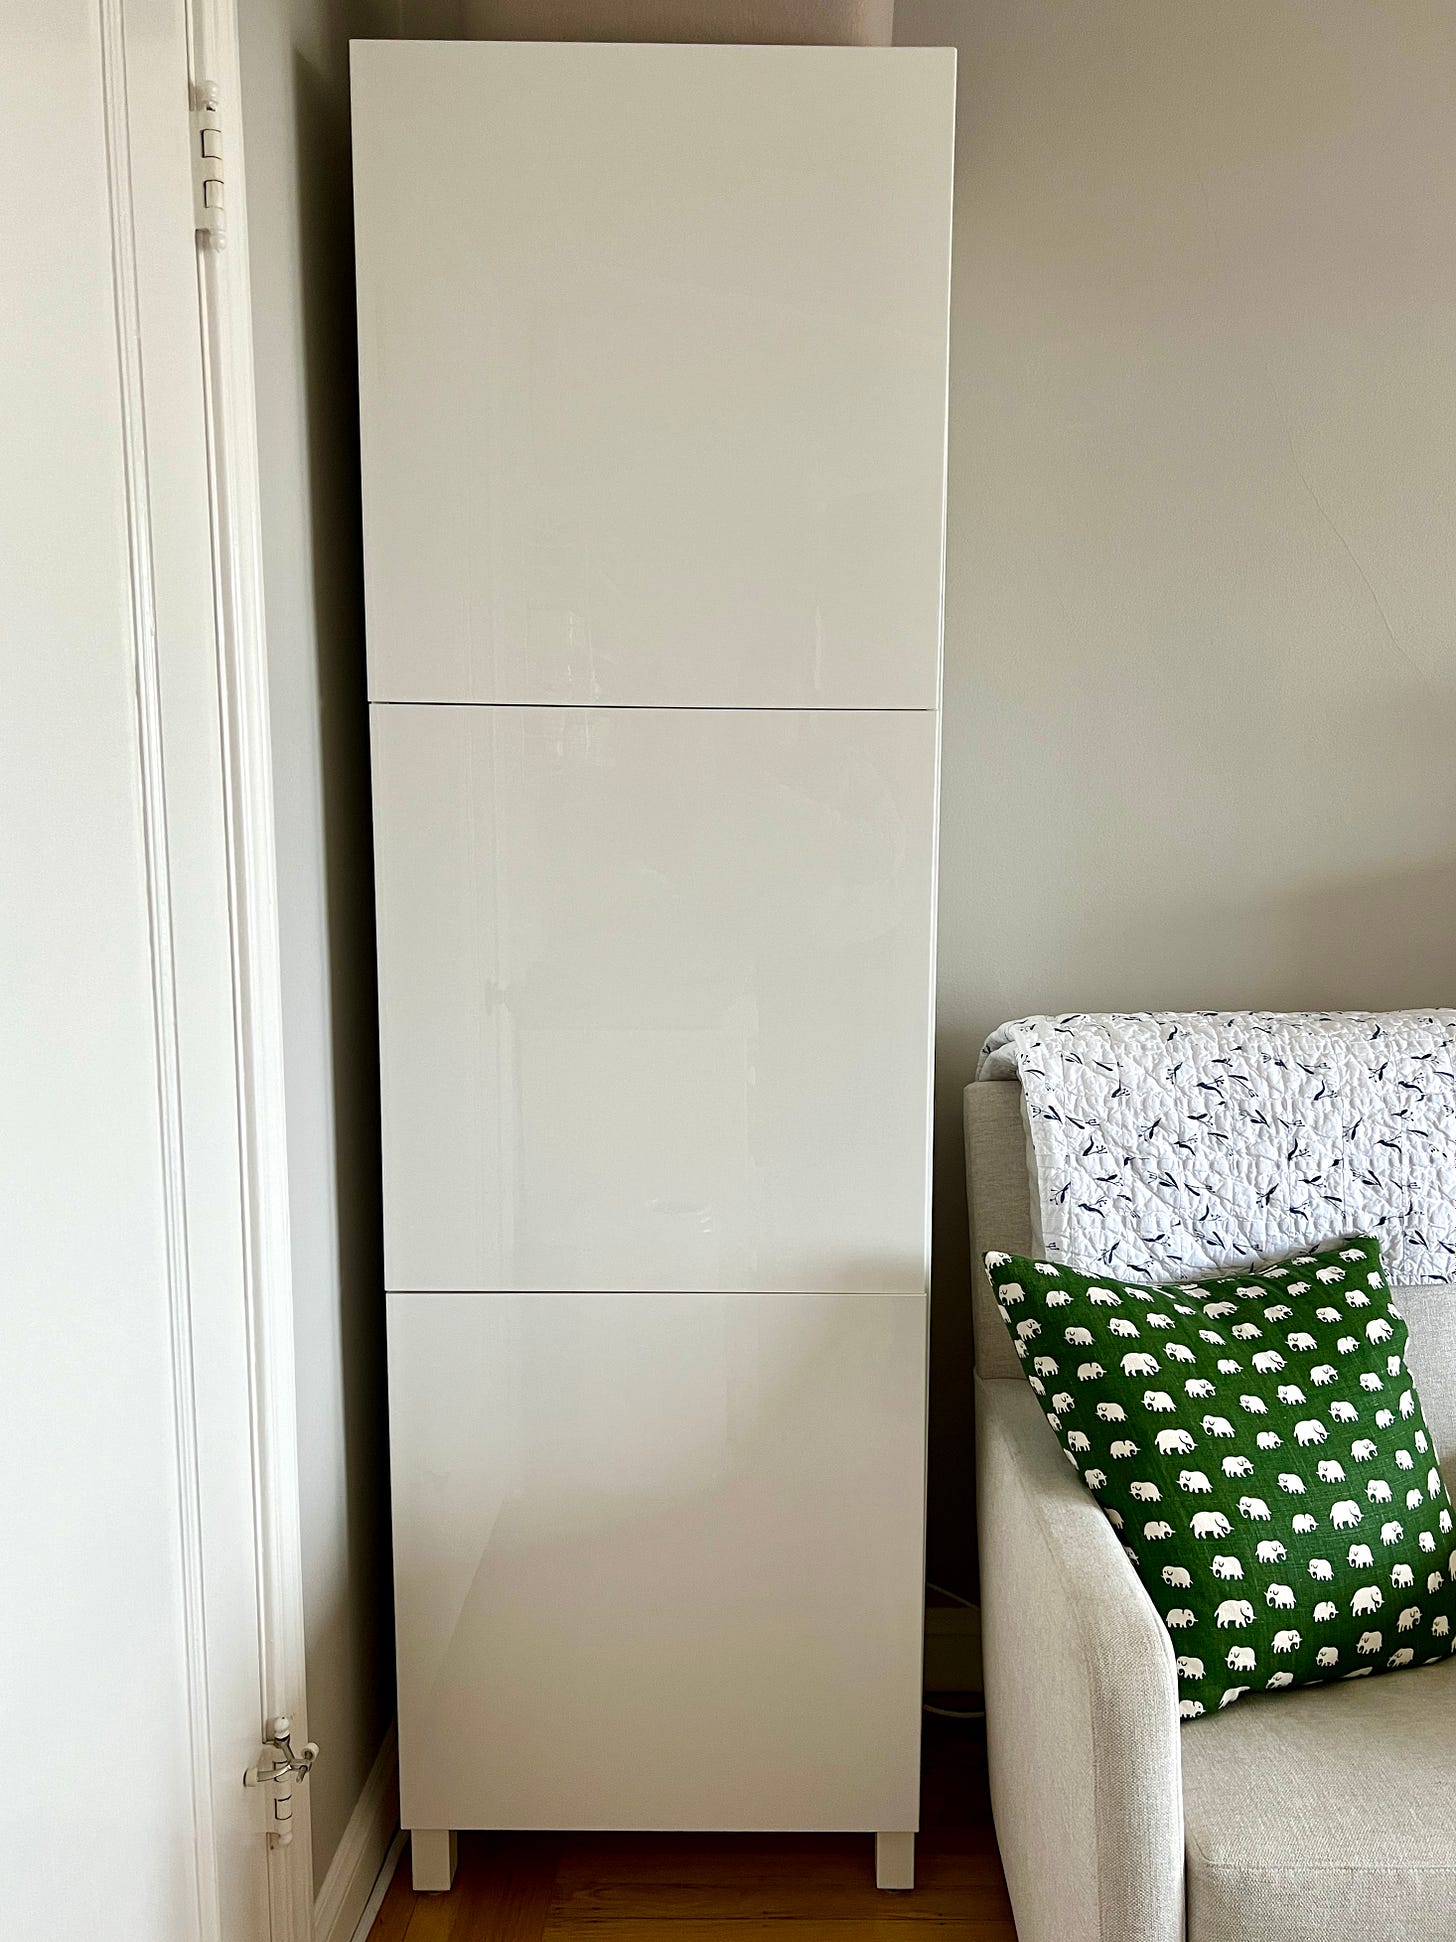
For example, the cabinet below sits in the baby’s room and holds: a Wifi router at the bottom, burp cloths, medicine, extra cloth diapers and wipes, skincare, laundry bags and a baby scale. And there’s still room to spare. It’s so spacious:
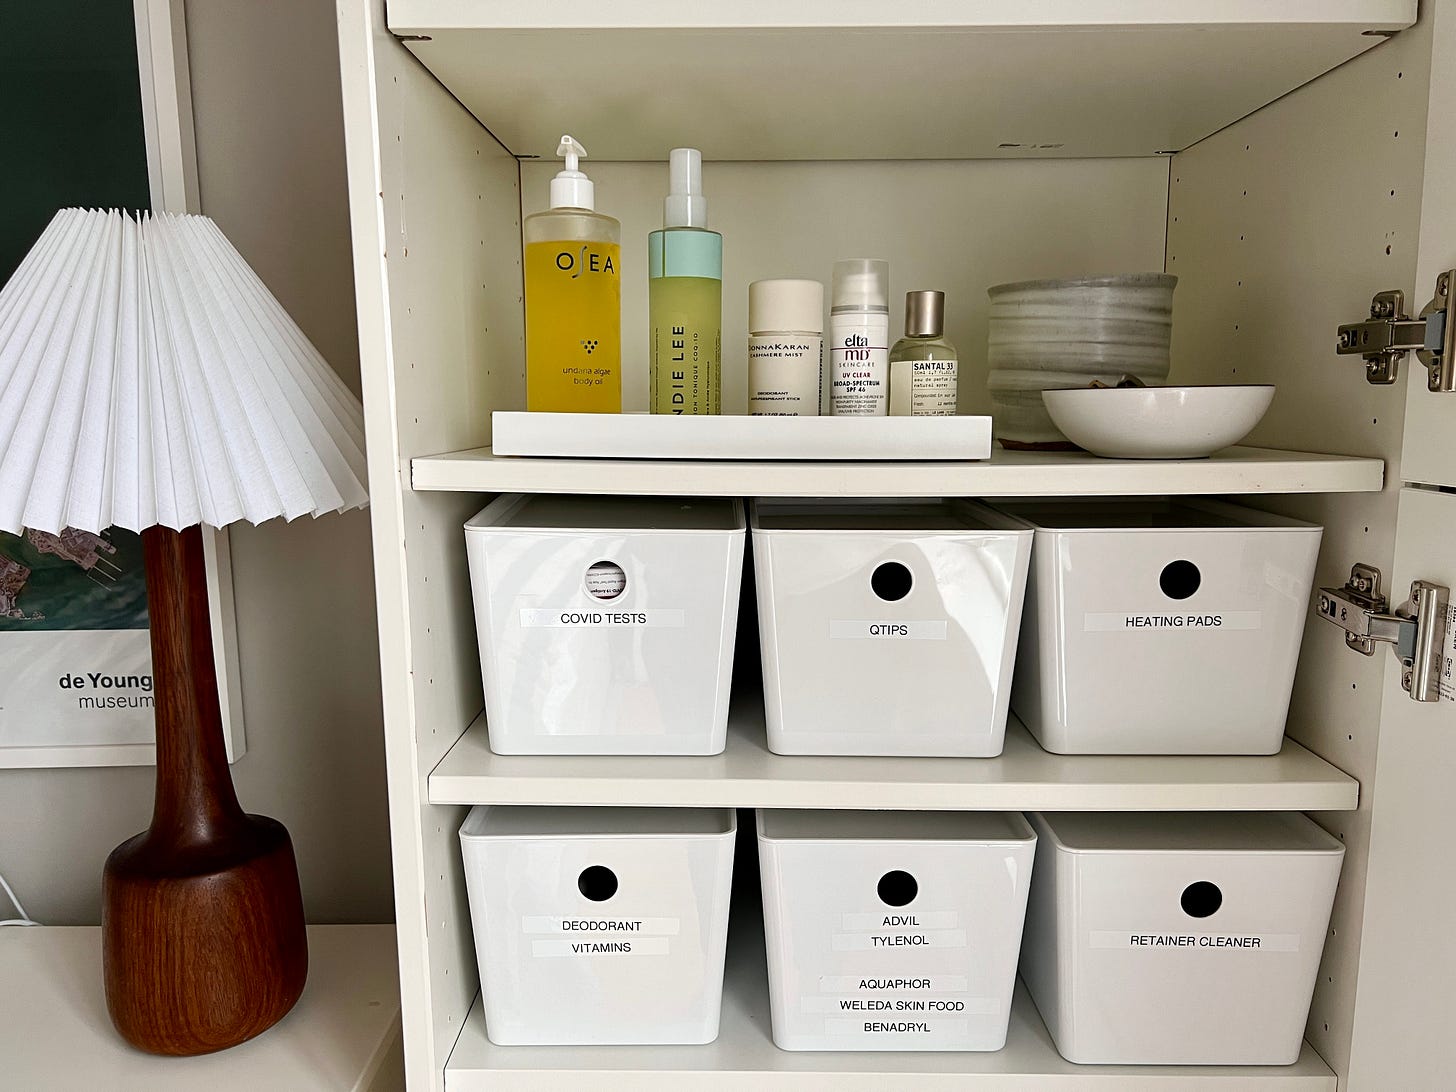
The Kuggis bins are designed for the Besta so they use the full width and depth of each shelf, maximizing your storage. This makes my heart sing. I’m showing you my medicine/first aid cabinet below just so you can see how nicely this works. I’m mostly using this size for toiletries:
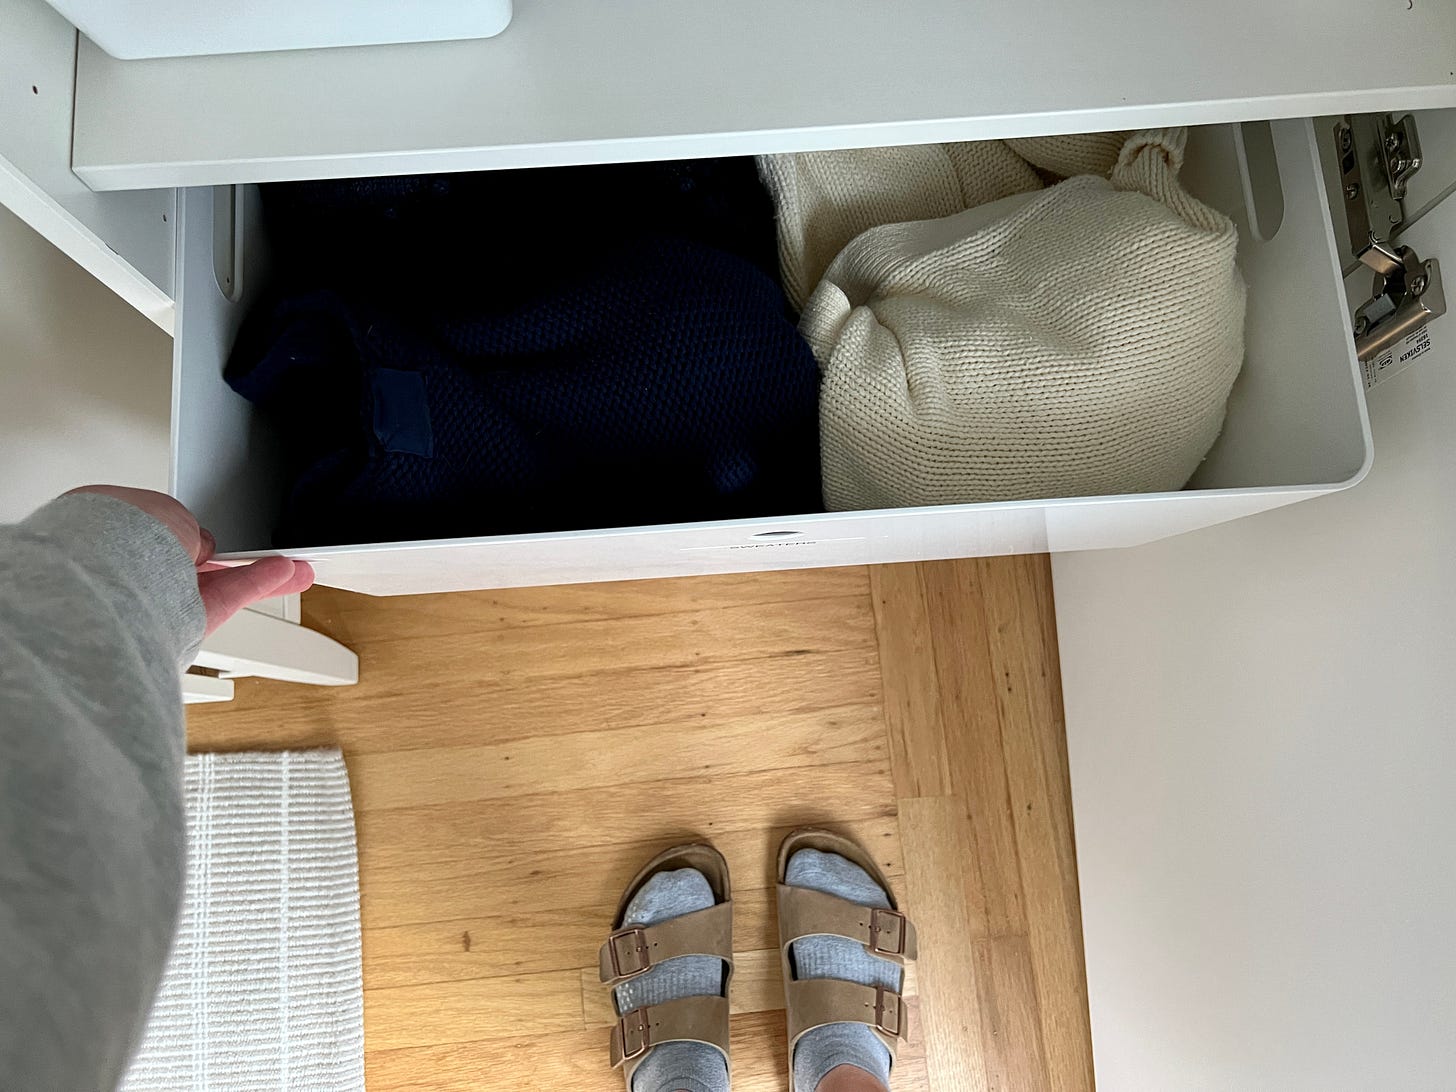
If you’re using a Besta cabinet as a clothes cabinet in a bedroom or closet (which is a great idea if you lack closet space), these extra large Kuggis bins are super sturdy and fill the entire shelf. I pull mine out like drawers:
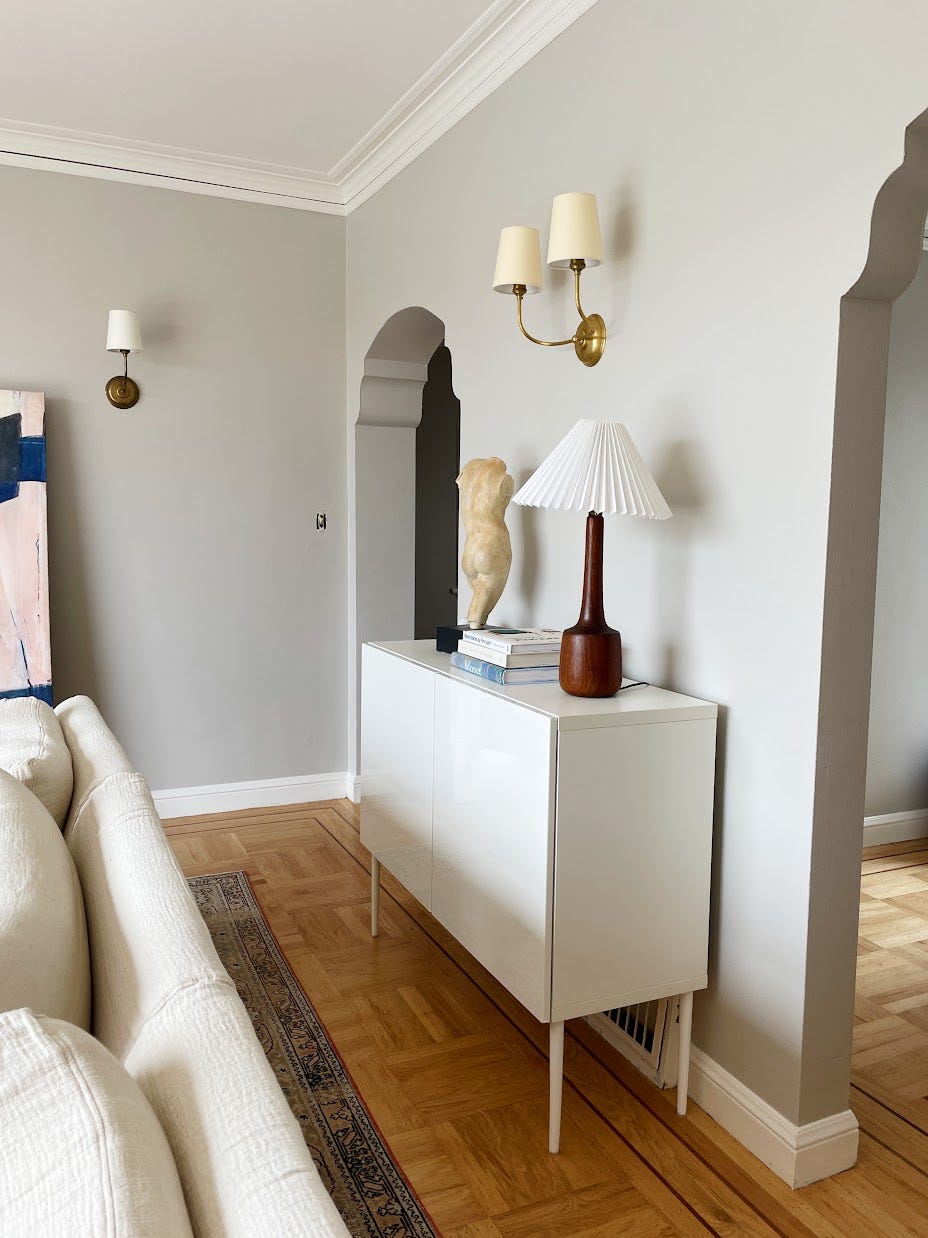
Despite holding an entire carload of stuff, the Besta is visually simple when the doors are closed. I’m partial to the all white combinations, and I think they work with any design style. Here’s a Besta in my living room below — I added longer legs so it would clear the HVAC register. The shallow depth is perfect for a narrow space, and the height makes for fun styling options with books:
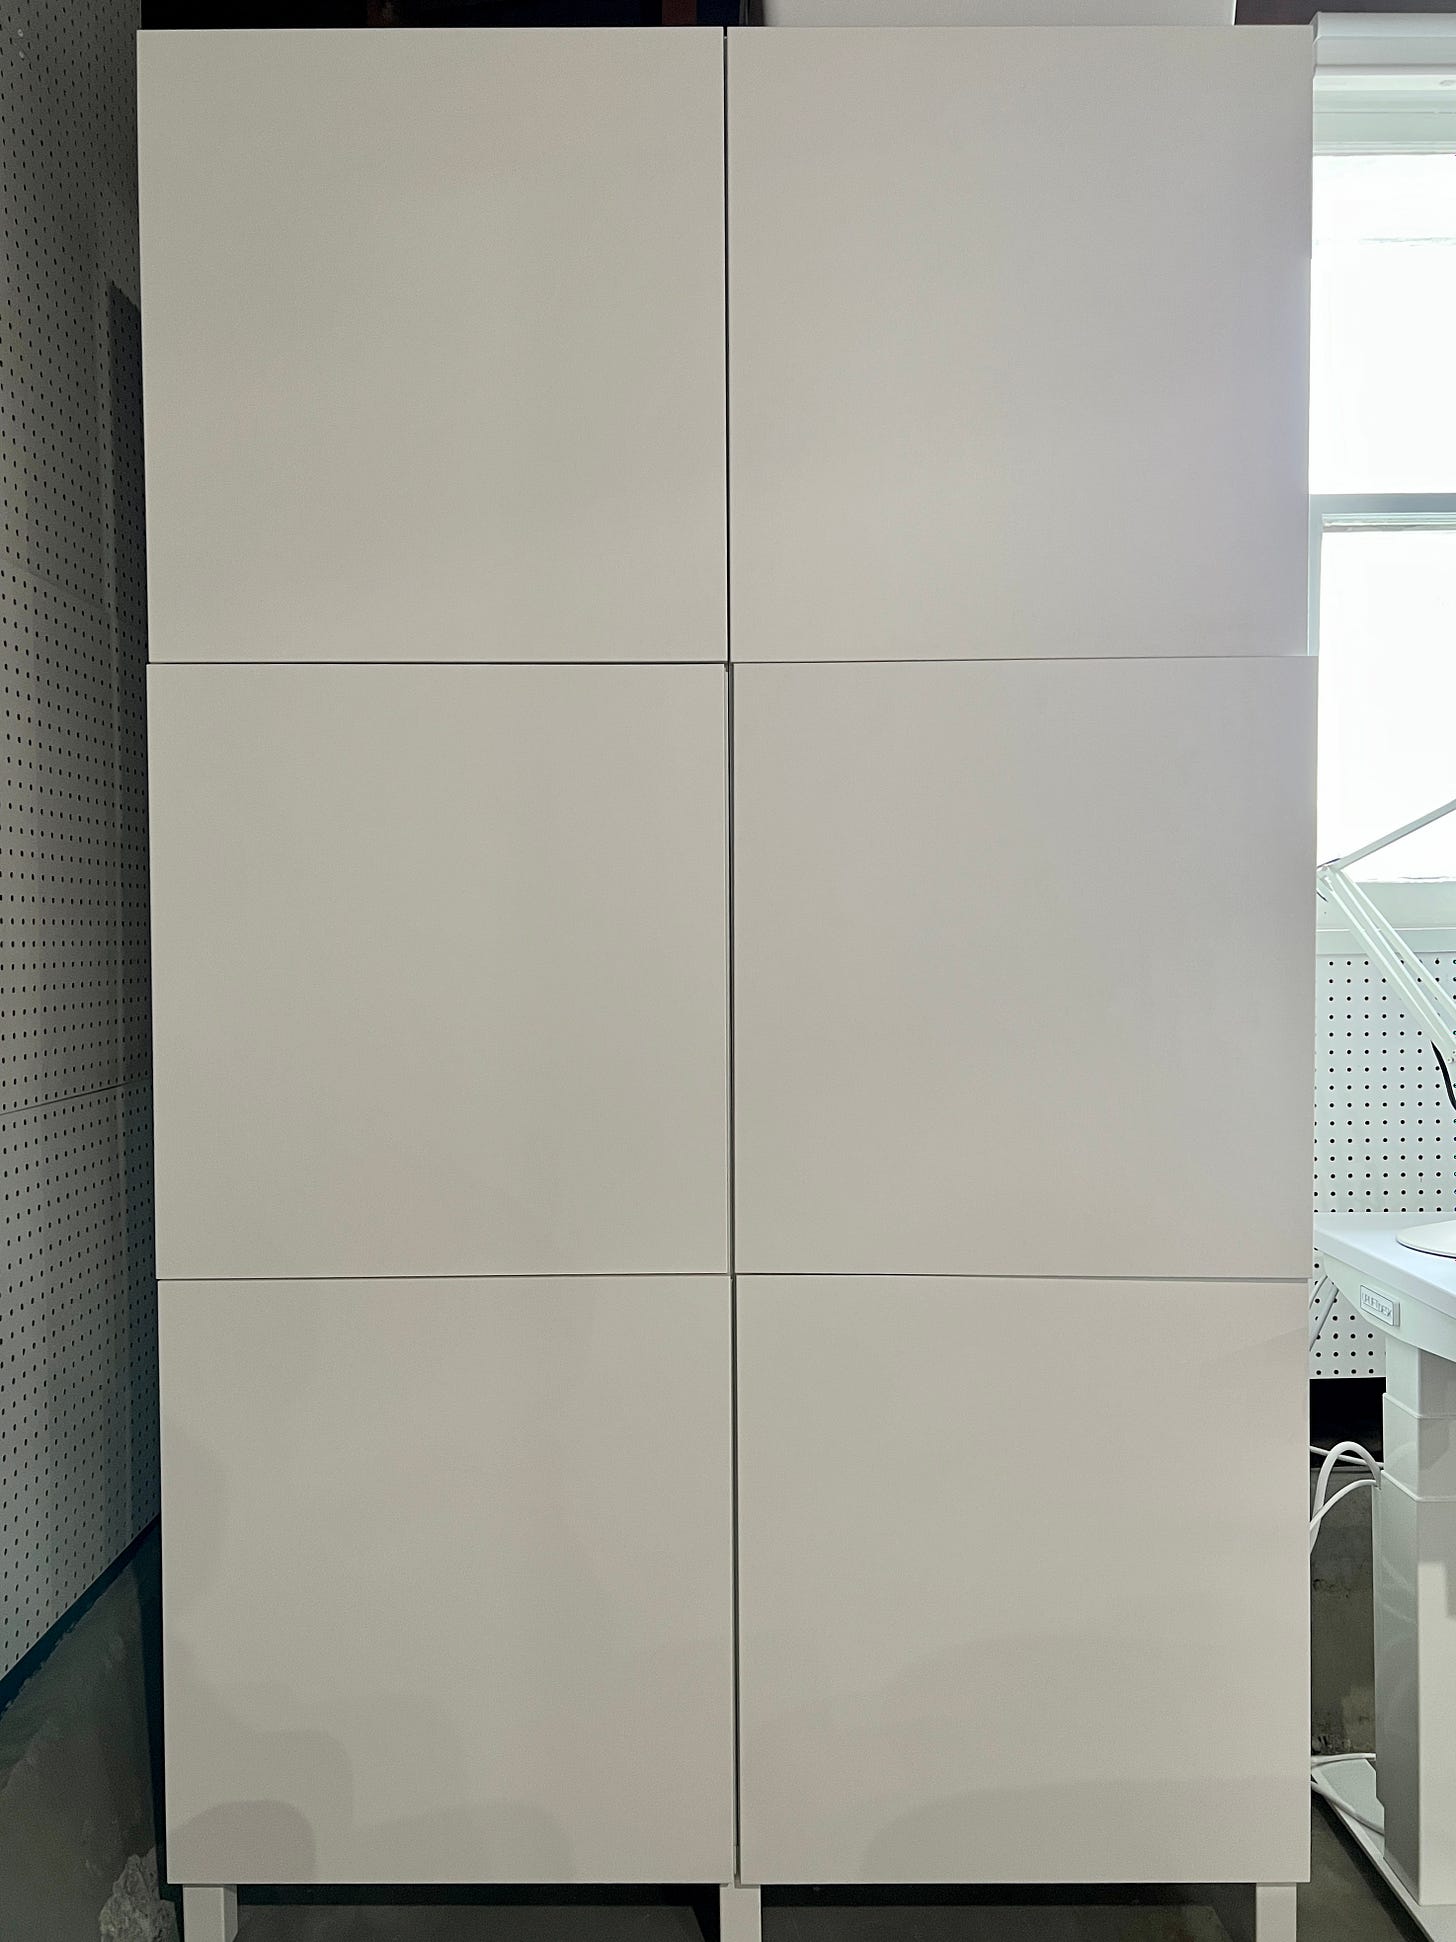
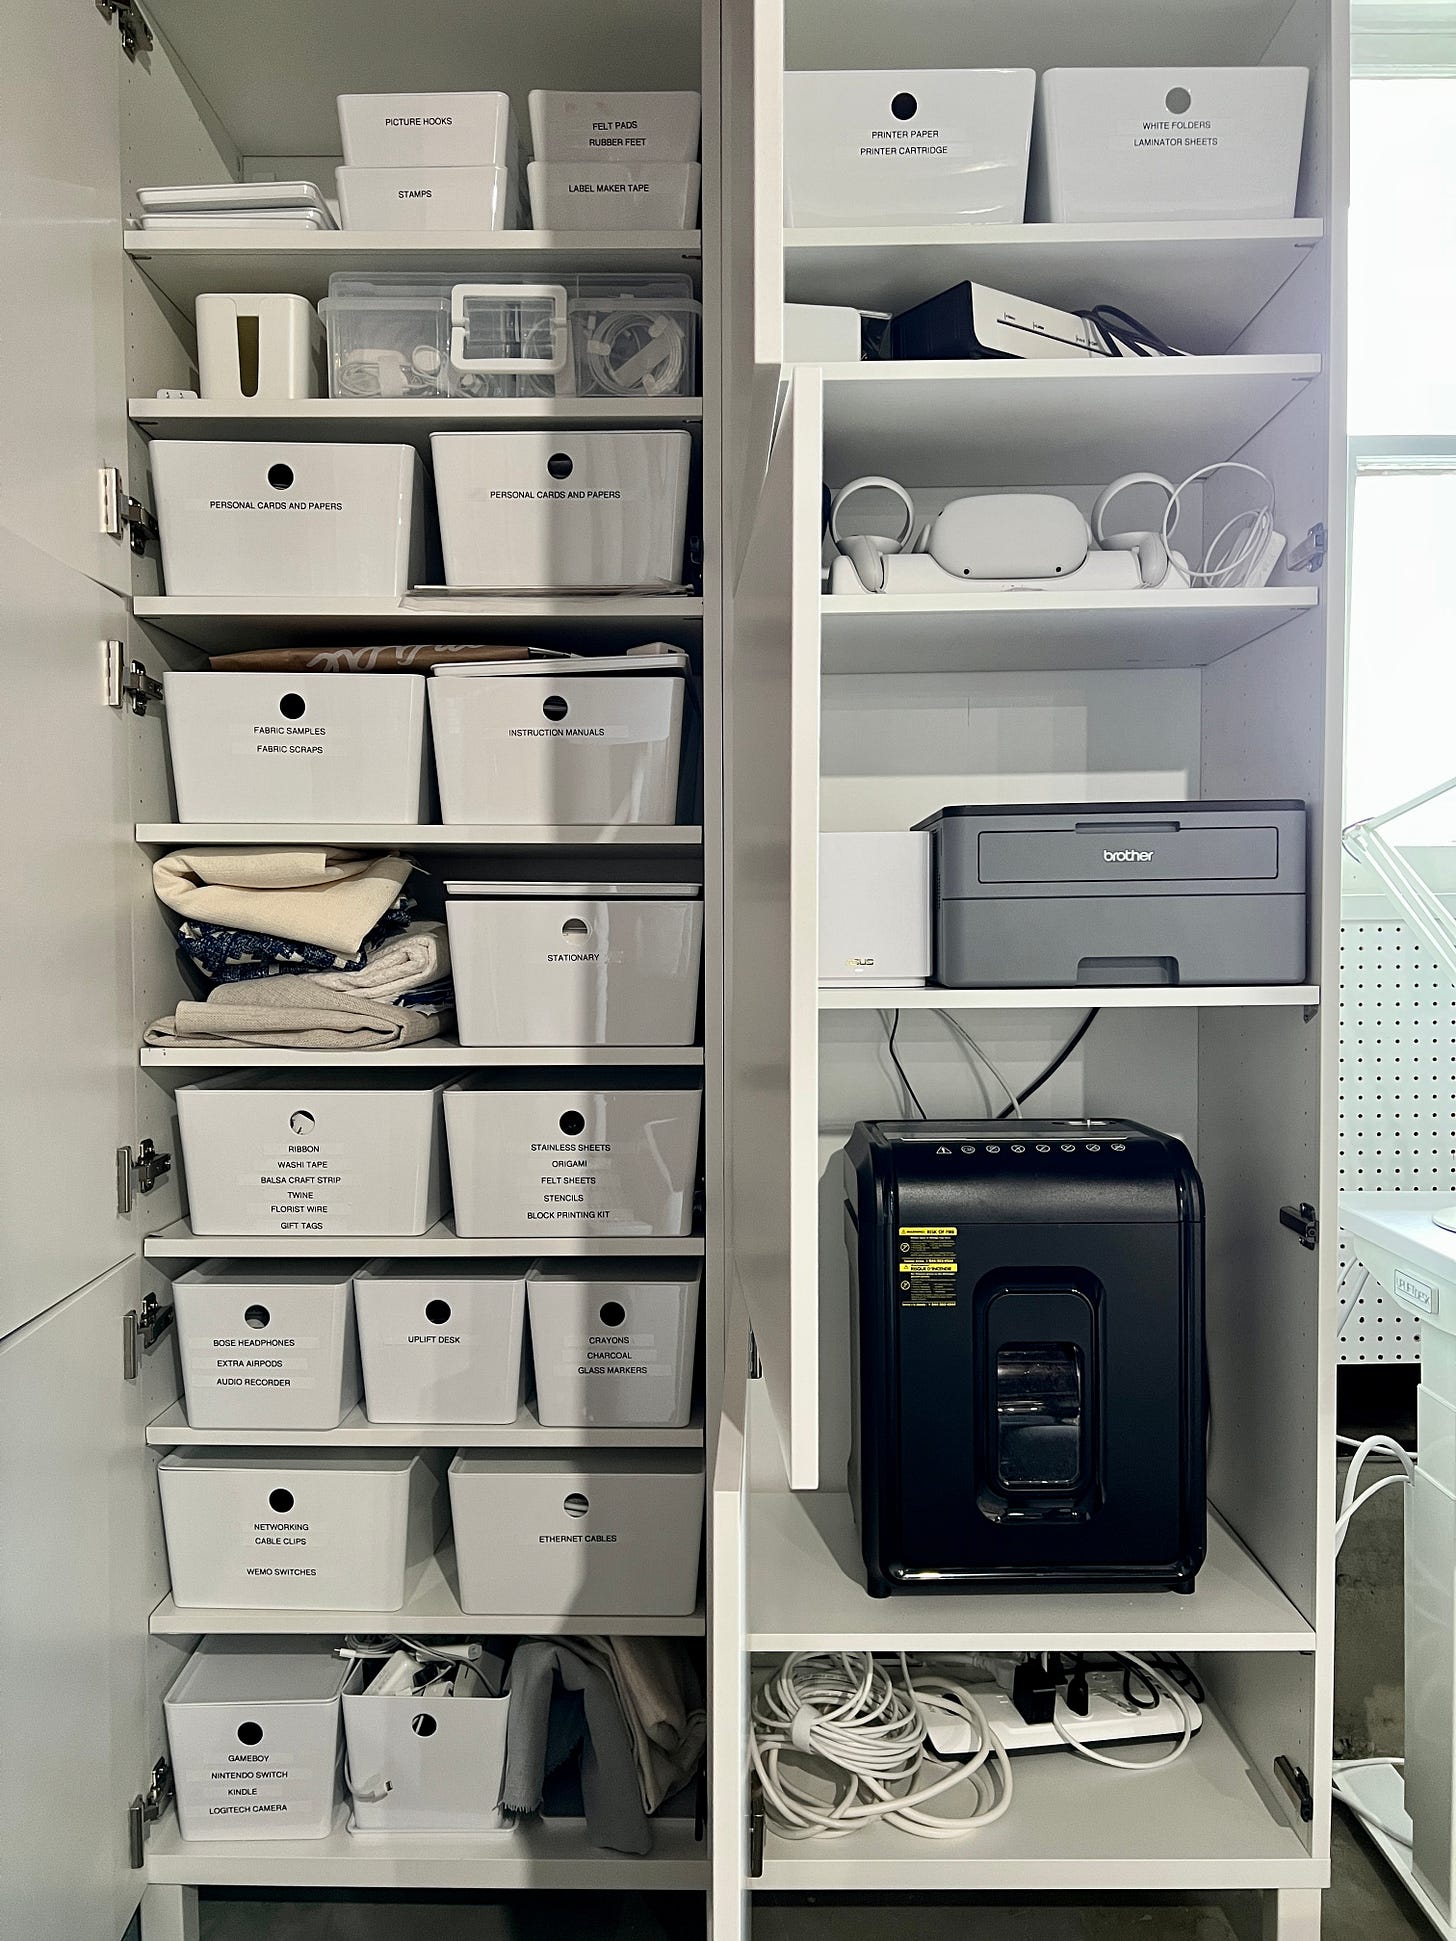
Where I think the Besta particularly shines is holding tech items that need to be plugged in. Plugs and cords are often the biggest eyesore in any house. Here’s how I’ve used the Besta in my office:
I have fabric samples and craft supplies on the left, and the right side holds a plugged in printer, shredder, laminator, etc. All of the devices are charged and ready to use even when the doors are closed. The key is to cut a hole in the back of the Besta and run a power strip into the unit. Then you can plug in everything inside.
Finally, affordability is relative, and the Besta is not the absolute cheapest furniture out there. But relative to the quality, I think it’s a great buy. This double wall of cabinets in my office which fits an enormous amount of stuff is $496. This triple wall of low cabinets which would be perfect as a dining room sideboard or media cabinet is $288. And this simple two door cabinet which would be useful literally anywhere is $187.
If you want an even more budget-friendly option, I highly recommend checking Craigslist or Facebook Marketplace. I found the Besta frame and shelves in the baby’s room pictured above on Marketplace for only $25. So while I did have to buy doors and hinges for it, I ended up with a fantastic deal. I’ve purchased several Besta cabinets secondhand, and years later they’re still very sturdy and holding up nicely. The quality is quite solid IMO.
Tips if you get a Besta
If I’ve properly convinced you to get a Besta, here are a few tips to keep in mind:
Combinations save $$$: You can select all of the individual pieces (doors, frames, hinges) that make up the Besta, or buy it as a pre-combined unit IKEA has already created for you here. The combinations are typically slightly cheaper (and you reduce the risk of forgetting something essential).
Doors create the vibe: I always go with an all-white combination, and the high gloss doors called the “Selsviken” look quite modern, like this more expensive CB2 cabinet. But if you don’t want a glossy look, the “Lappviken” doors are matte (and less expensive).
Consider custom: Can’t find the feet or doors you want on IKEA’s website? Many companies now make accessories for the Besta, like Pretty Pegs which makes knobs and legs or Semihandmade which makes doors. They’re more expensive than IKEA’s options but the results are impressive.
Get it delivered: I highly recommend getting stuff from IKEA delivered, unless you are dying for Swedish meatballs. Their online shopping and home delivery have gotten much better than they used to be. If something is out of stock (which it often is), sign up for notifications and you shouldn’t have to wait long. And if something is missing or damaged from your order, I’ve had good luck calling customer service and getting replacements.
Find a video for assembly: Besta assembly is quite easy by IKEA standards IMO, but the hardest part is adjusting the doors so they’re level and straight. Watch this YouTube tutorial where they show you how.
Plan for cords before you assemble: If you want to run cords into the back of the Besta, I like to use a utility knive to cut a hole about six inches wide and 10 inches high in the back panel before I assemble the unit. If you do this after assembly, it’s much trickier (and more dangerous). I do not recommend using scissors since it’s pretty thick material. Once you cut a hole cut into the back, you can run a power strip into the unit and plug everything in inside. Pro tip, this compact printer fits inside the Besta with the doors closed.
The shelves hold it together: When you start to assemble the Besta you may think “wtf Eliza this is so flimsy.” But once you put the shelves into the cabinet and put some weight on those shelves, it should stop wobbling. The shelves are designed to weight it down and add structure.
Secure it to the wall: That said, if you’re assembling one of the tall skinny cabinets in earthquake territory or have kids, it’s not a bad idea to attach it to the wall. IKEA does include hardware for this purpose but it’s fairly flimsy. So I cut a pre-primed 4” white board the same width as the cabinet and screwed it into the wall (I recently bought a fancy stud-finder and it has changed my life.) Once that board was secured to the wall, I screwed the Besta into the board and it won’t budge.
Have you used the Besta somewhere in your house? Let me know in the comments!
Note: I use affiliate links, which means that if you make a purchase I may get a small commission at no cost to you. Sadly this post is not sponsored by IKEA but that is the dream. Thank you for supporting my work!


This is so helpful! Seeing how much you can cram into these while keeping it pretty inside has made up my mind for craft room storage, hooray!
I guess I’m going to ikea now 😂😂