
Switching from open ai api to local LLM
Switching from open ai api to local LLM
Small follow up post on our last one about building a rag agent with langchain and node

. The scene includes a desktop computer with an open code editor displaying lines of Python code, symbolizing the programming aspect. In the background, there's a faint digital network pattern that signifies data processing and AI connections. The overall atmosphere is one of innovation and technology, with a color palette that includes blues and greens to evoke a sense of advanced digital processing. The image should be detailed, conveying the complexity and power of local LLMs in a way that's accessible and engaging for readers of a technical blog.")
In this post I want to go over how to use a locally runing LLM with LMStudio server instead of using OpenAi’s API, why? well maybe you want to build a POC, or maybe you want to have fun and test LLM’s out on some app you already have that’s using langchain, or maybe you are like me and just want to have fun doing this haha.
If you haven’t read the last post I recomend you so so as we’ll be re-using that code to showcase how easy and fast we can switch to a locally runing LLM.
Getting LMStudio
First of all we need to run LMStudio on our computer, to do so navigate to LMStudio
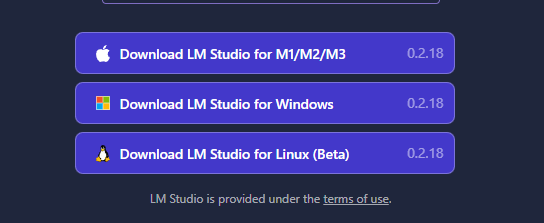
And chose the download option that suits your OS.
Once downloaded simply run LMStudio and you’ll have a screen looking something like this:
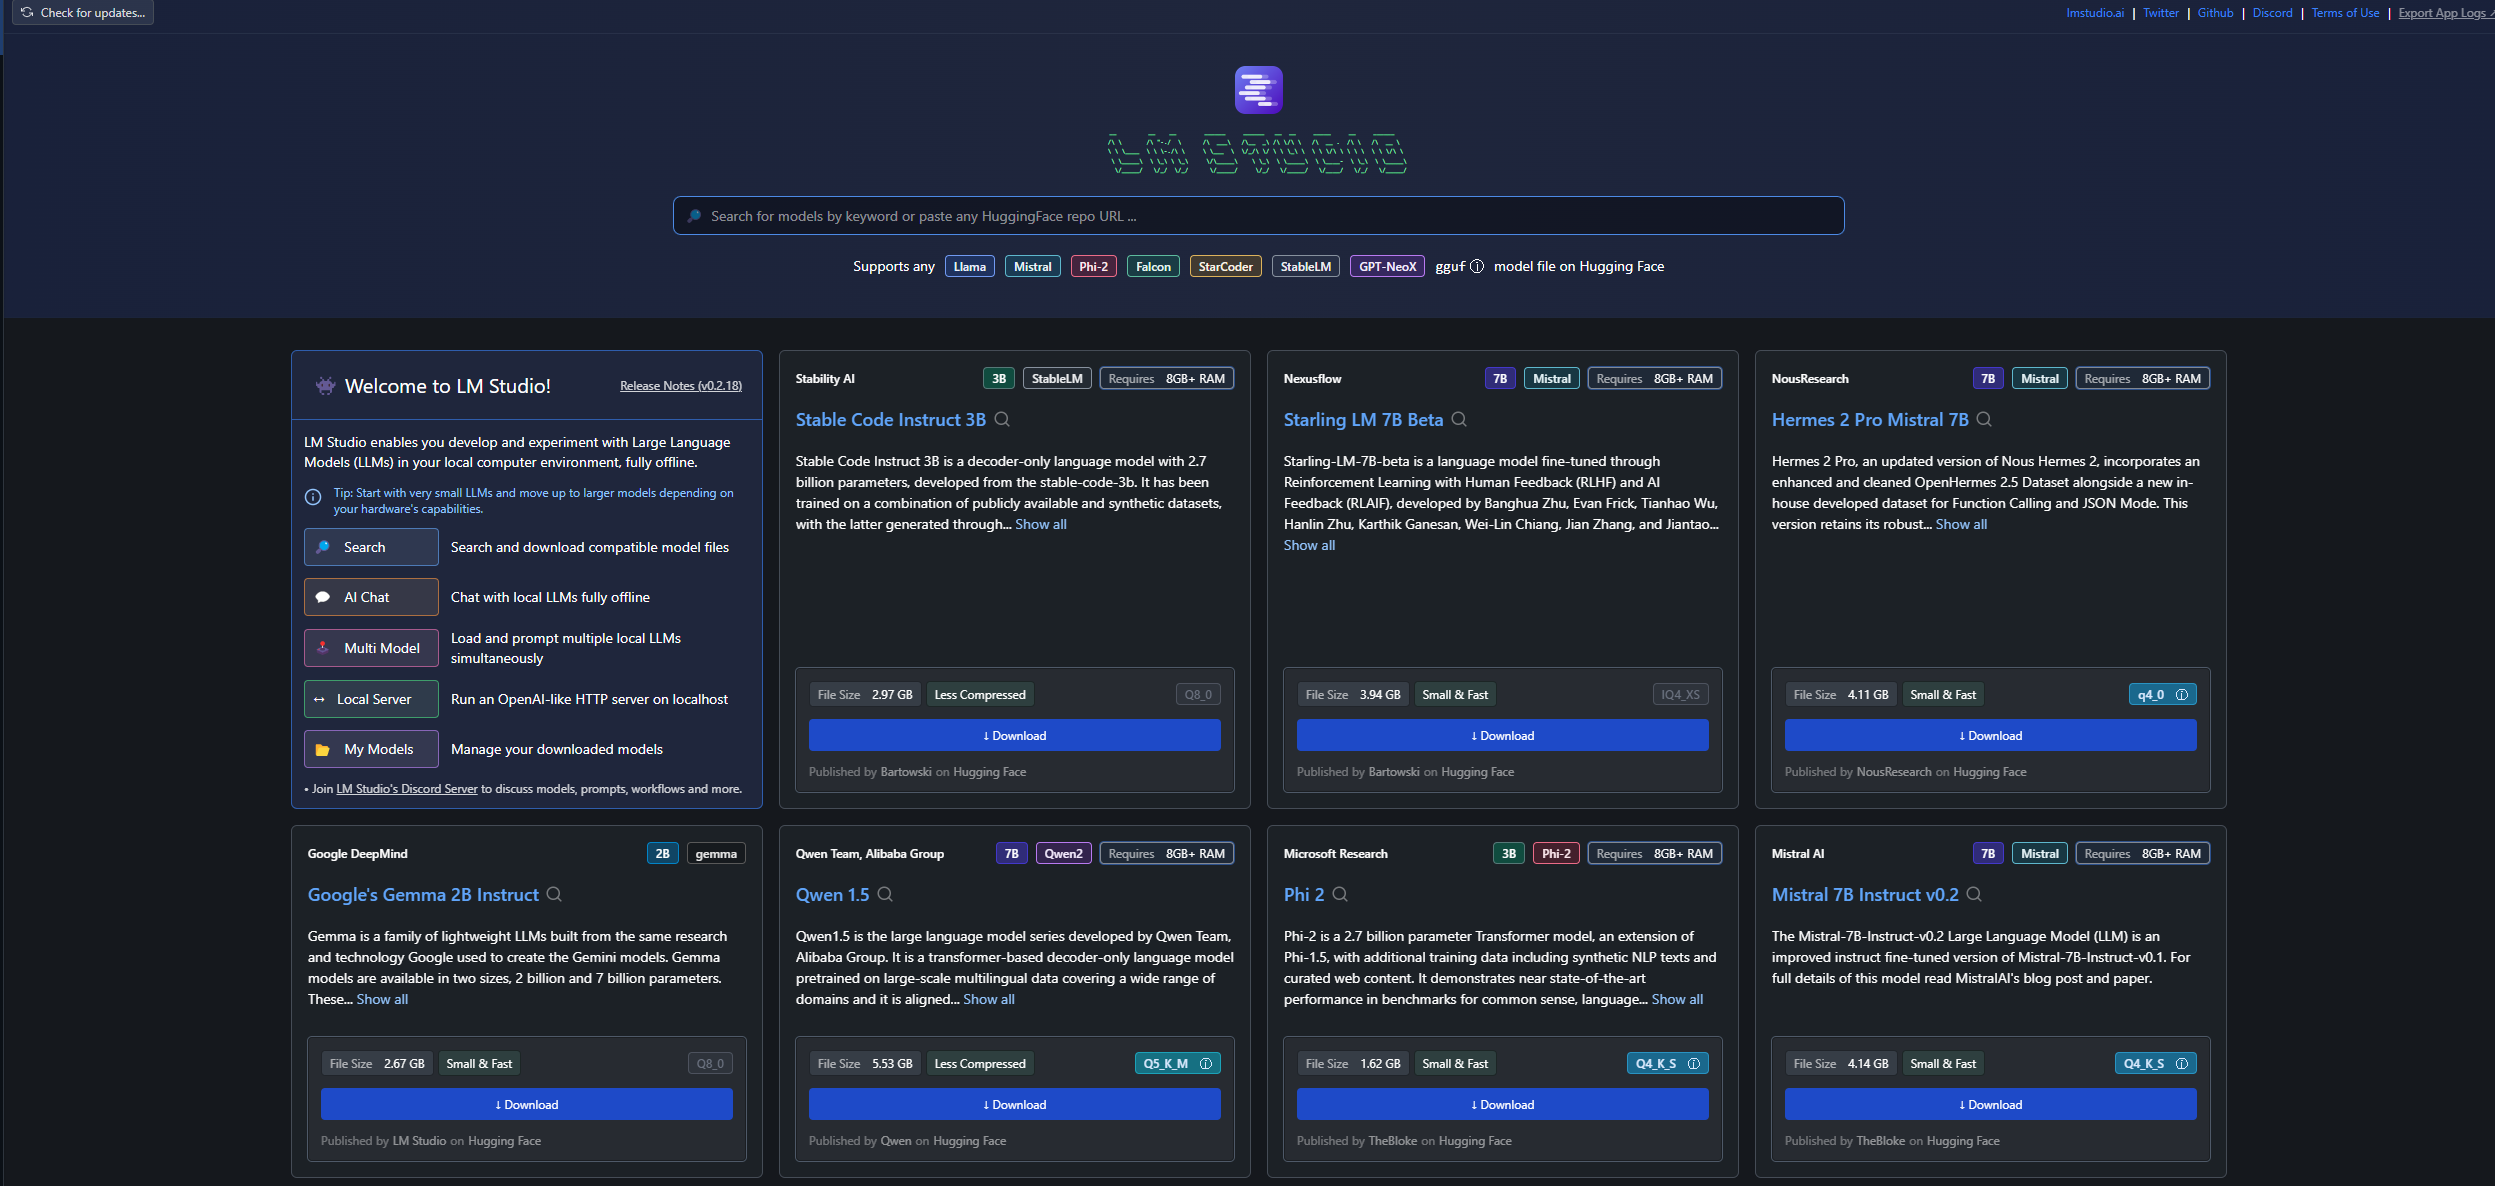
on the right you have a navigation pane

Home is where we are right now, then we have a search LLMs option, Ai chat, a playground, an option to run a local server (The one we are interested in) and finally a place to check your locally downloaded models.
Let’s go to the search LLMs options and download some model to start testing.

in here let’s type llama 7B and download a model
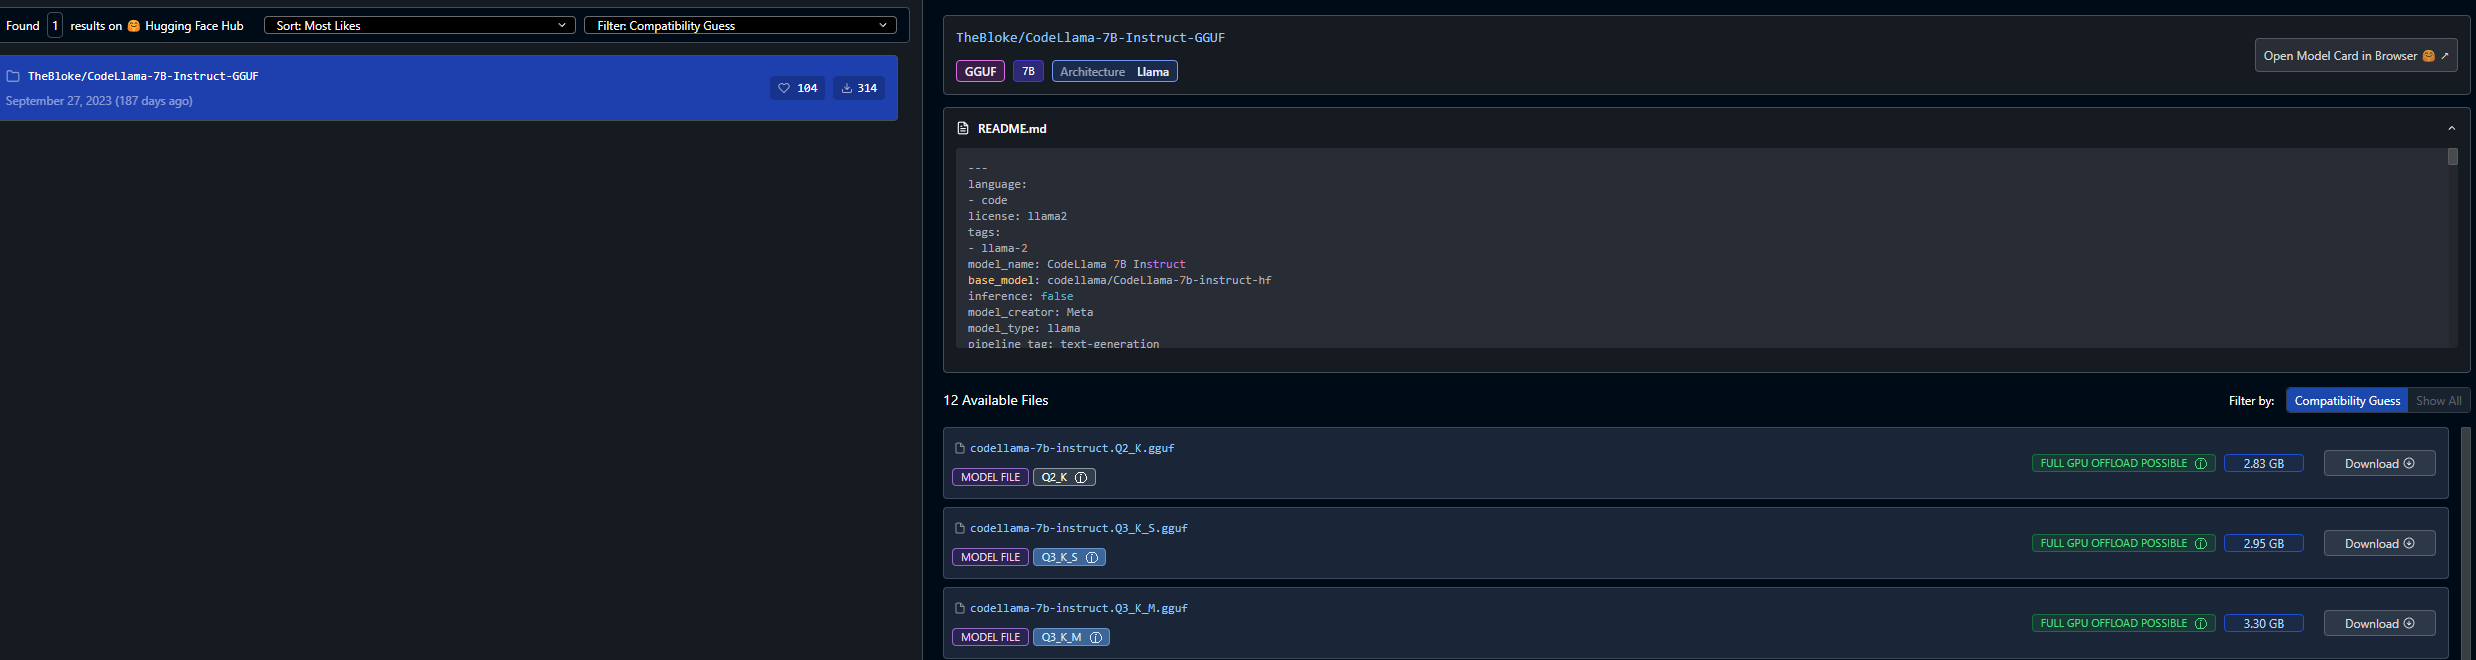
Chose the model you want and hit download on the right. Then once it’s downloaded go to “My models” on the nav panel.

As you can see I downloaded “TheBloke/CodeLlama-7B-Instruct-GGUF/codellama-7b-instruct.Q4_K_S.gguf”.
Starting the local server
The cool thing about LMStudio is that it let’s you run a local http server with the model of your chosing, and it pre formats the models output to comply with openai’s response format (read more about it here). That means that we can just change the base url on our OpenAi class in langchain to point to this local LLM runing on our computer whith little to no effort!!
So let’s go to the Local server tab on LMStudio

In here select the model you just downlaoded and wait for the model to load in memory.
Once it’s loaded ht start server (You might need to enable CORS if you are pointing a local app to the server)
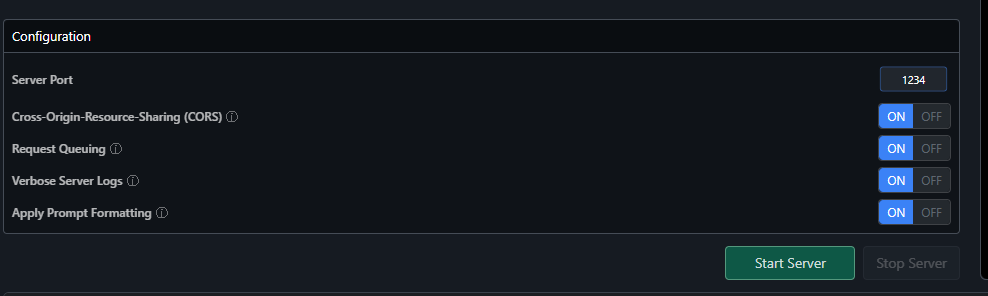
And you should see something like this if the server started succesfully

Nice! So far so good, now we need to do one last thing on our app to connect to this local LLM.
In our app (The one from our last post) go to langchainService.ts file and we need to make a small change when we instantiate our model, in the constuctor of the class
constructor(model: string = "gpt-4-1106-preview", temperature: number = 0) {
    this.pineconeService = new PineconeService();
    this.pineconeIndex = this.pineconeService.getPineconeIndex();
    this.model = new ChatOpenAI({
      temperature: temperature,
      modelName: model,
      openAIApiKey: process.env.OPENAI_API_KEY,
    });
  }
let’s add two new params to it:
constructor(model: string = "gpt-4-1106-preview", temperature: number = 0) {
    this.pineconeService = new PineconeService();
    this.pineconeIndex = this.pineconeService.getPineconeIndex();
    this.model = new ChatOpenAI({
      temperature: temperature,
      modelName: model,
      openAIApiKey: process.env.OPENAI_API_KEY,
      configuration: {
        baseURL: "http://localhost:1234/v1",
      },
      stop: ["\\"],
    });
  }
We are adding a configuration object that has a baseURL key, that’s the base url that langchain is going to query agains in order to get a response from the LLM, usually this points to OpenAI’s API but we are overriding it to point to our local LLM, we are also adding a “stop” key to make sure that the local LLM stops the inference process when two backslashes are found in the response (The model I’m suing apparently uses multiple backslashes to showcase that the response is done, it might be different with other models, I don’t really know, you might need to do some testing and tweeking)
And that’s it!! Now we have an LLM runing locally and our app is getting inferences done by it on our own computer!
I’ve built a small UI to showcase this

The image might be small but this is a chat window were we are quering against our local LLM and using pinecone as a vectorial DB to store documents that serve as context for our Agent.
And that’s it! Hope you found this useful!! :)