
Discover more from Rounding the Earth Newsletter
My wife's third article is the second in 24 hours, but know that she hasn't been typing nonstop for all this time. These articles have been in the works for a few weeks. I hope this one is helpful to a lot of readers. We have enjoyed adding microgreens to a lot of dinners: in salads, on steaks, on top of tomato mozzarella with prosciutto, in shepherd's pie, and a lot of times we just pull them up, put them in a bowl and snack on them.
Everything old is new again
My Mom laughed at me when I told her I was growing microgreens. Sprouts were a big thing in the 70’s, and microgreens (complete with SUPERFOOD!! marketing campaign) are their slightly older sibling. Microgreens are grown in soil or hydroponically (i.e. with a paper towel/grow mat and water), past the sprout stage to the cotyledon leaf stage and are generally harvested before the first true leaf appears.
The skills you used in the first grade to sprout a bean from your mother’s pantry are about all that is required to grow microgreens, so grab some apple juice and graham crackers and get ready to follow along.
A Pictorial Guide to Microgreens
Materials:
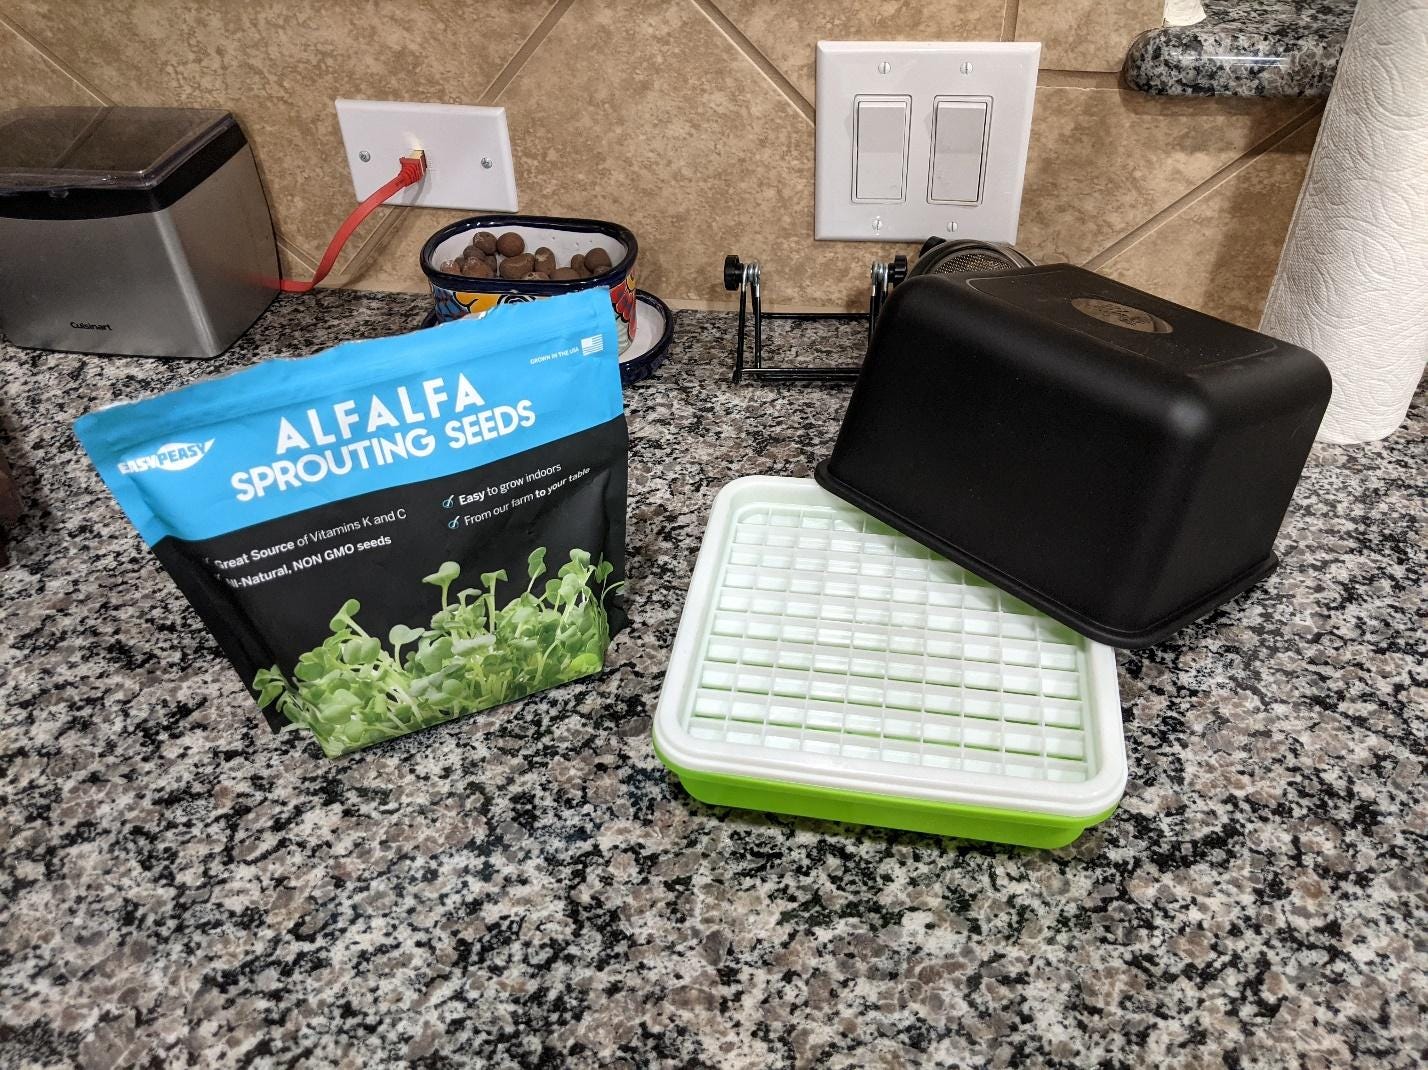
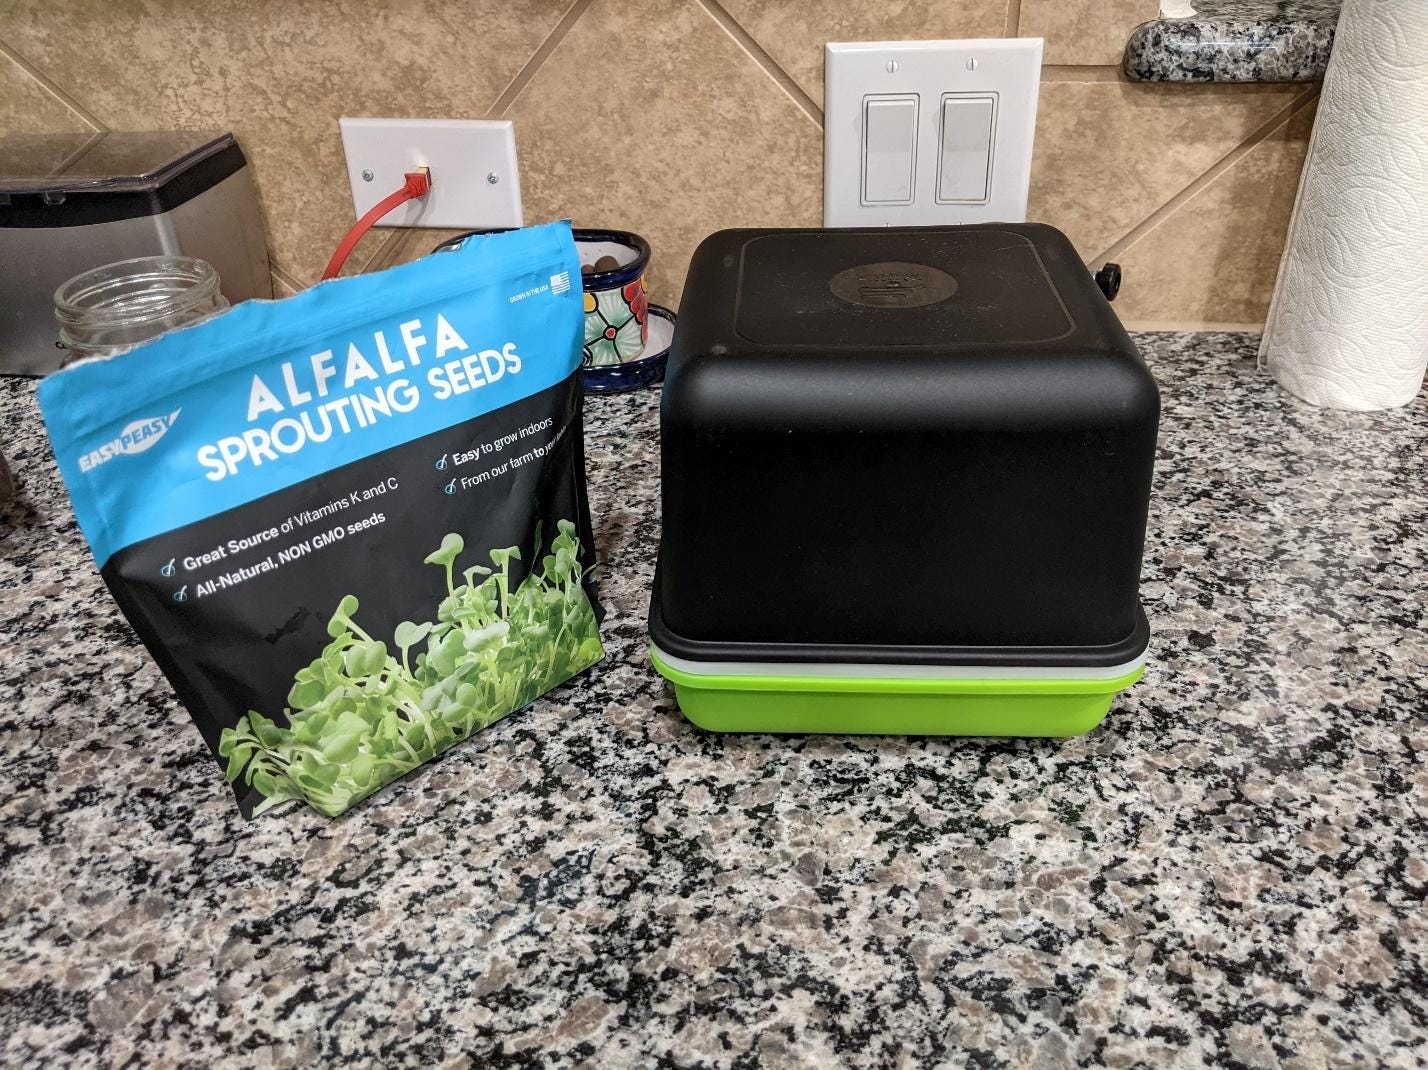
Sprouting or Microgreen Seeds. It’s best to use seeds designated for sprouting or microgreens because these seeds have been screened for a high germination rate. Nothing is worse than spreading out all your seeds and seeing only 10 or 20% grow into edible greens.
Seeds I’ve used:
Alfalfa Sprouting Seed: very mild, with a nice crunch. I add this to my tomato mozzarella salad.
Asian Microgreen Seed Mix: good flavor, but various heights and time to maturity make this mix a little hard to harvest.
Black Oil Sunflower Seeds: haven’t tried these yet!
Broccoli Sprouting Seeds: taste a bit like mature broccoli, and like mature broccoli can smell a little like rotting eggs. If you like broccoli as I do, these are a must.
Caraway Sprouting Seeds: haven’t tried these yet!
Green Pea Microgreen Seeds: a favorite. I bought five pounds three months ago and need to order more soon. One of my favorite microgreens for just straight up snacking. Slightly sweet. Grows slower than most of the other greens I’ve tried, but gets tough if grown too long. Cheap!
Kale Sprouting Mix: a bit more flavor than the alfalfa. Good addition to salads and sandwiches. If cooked, they get gummy.
Radish Sprouting Seeds: another favorite. Very nice radish bite. Consumed alone in small quantity as a palate cleanser. Excellent with steak or chicken.
Rainbow Radish Mix: see above.
Turnip Microgreen Seeds: a very mild radish flavor. Very good in salads and sandwiches. Cheap!
Yellow Mustard Microgreen Seeds: tastes a little mustardy, though not so much that a non-mustard person dislikes them. Mustard people tell me these are very yummy. Cheap!
Microgreen Seed Tray.
These are the ones I’ve tried:
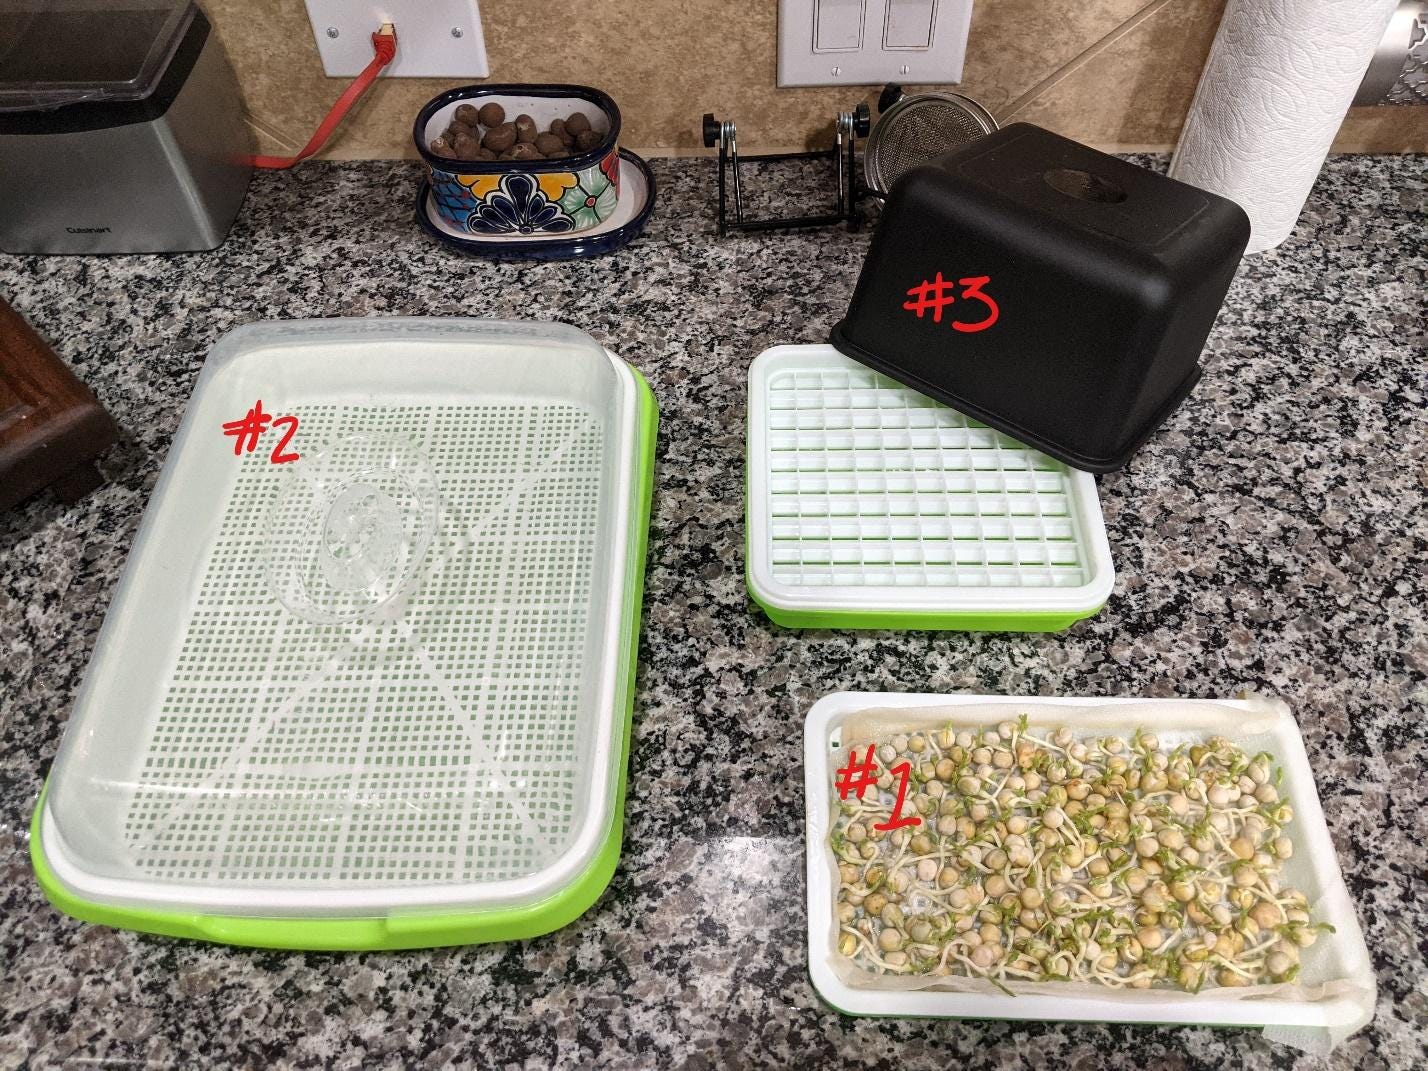
1. 5 piece seed sprouter tray set: These were the first seed trays I bought. I still use them as they are a perfect size for a half paper towel. The bottom tray water reservoir is a little shallow, and so needs refilling every few days. These trays lack a lid, which is a drawback. I get much better germination rates if I cover the seedlings for a few days as they sprout.
2. Seed sprouter tray with lid: These were the second trays I bought. They have lids. They are also more than twice the size (10”x12.7”) of the first set of trays (8.8”x5.7”). This is probably great if you have a larger family, but I find myself rarely using these for my smaller household of two. On a side note, I use the lid from this set to cover two trays from the first set for improved moisture retention during germination.
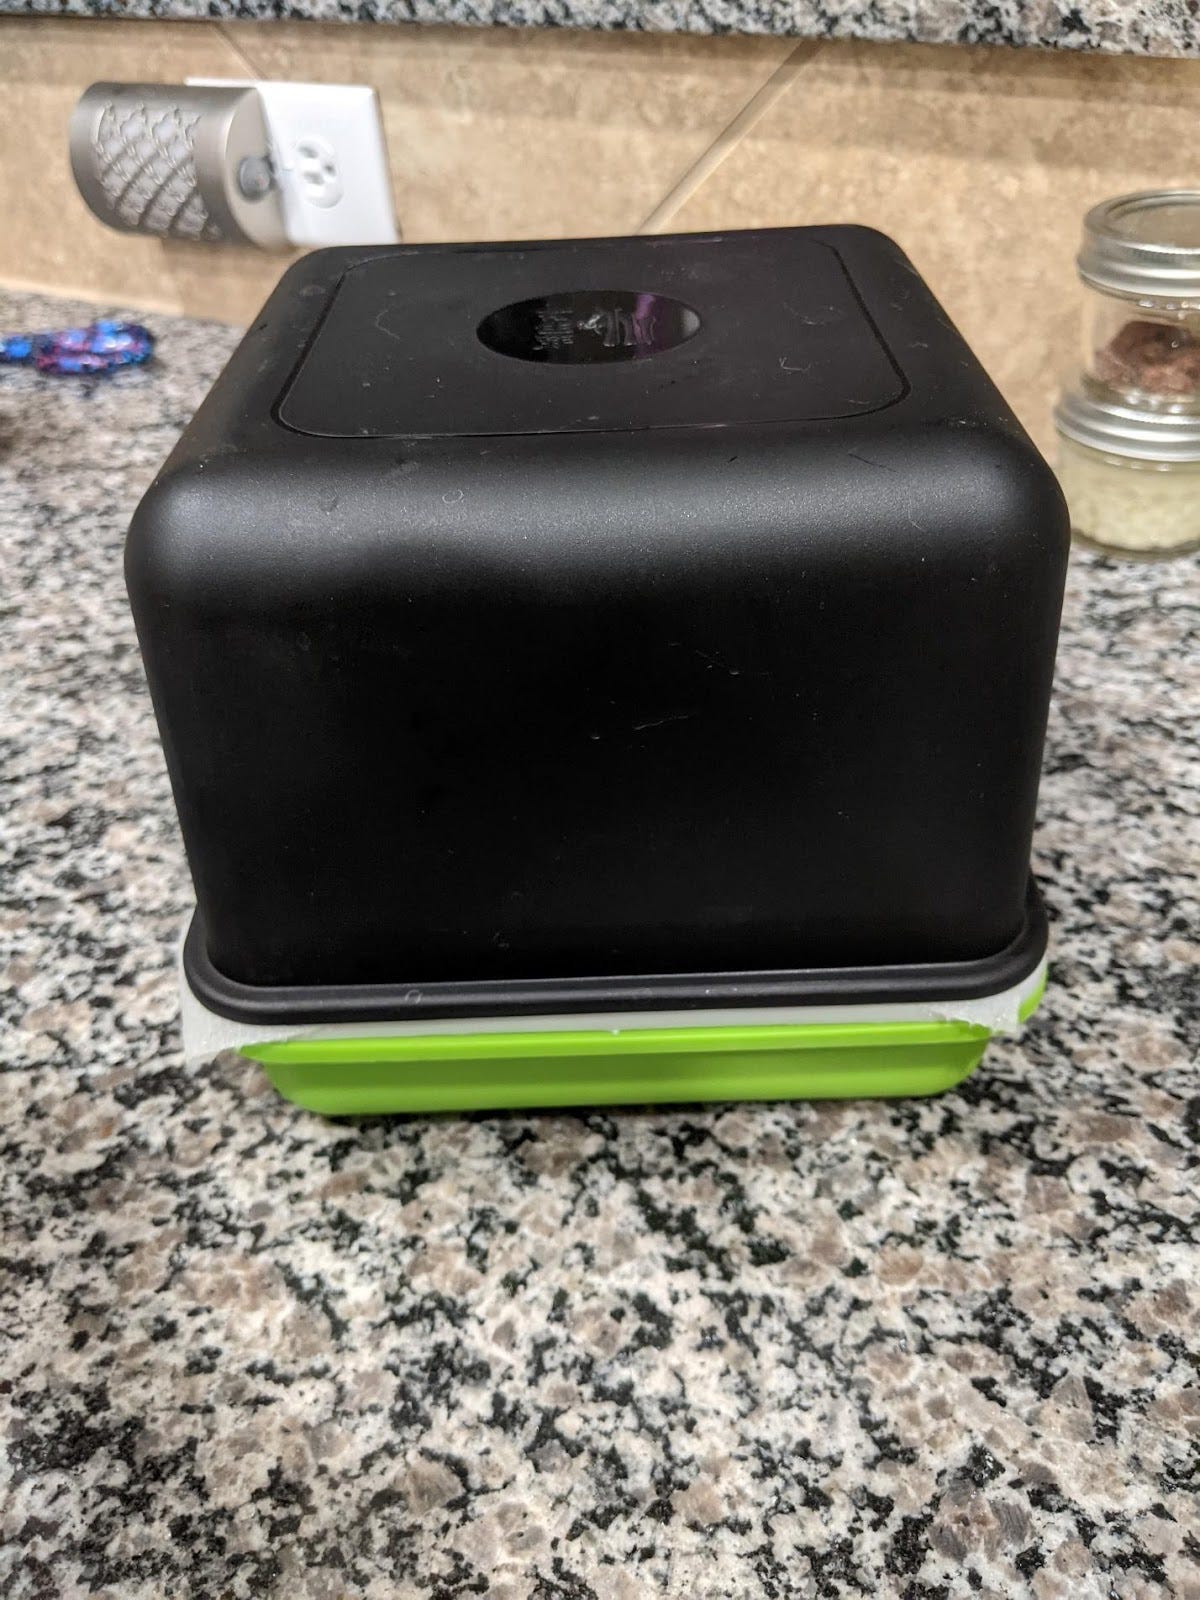
3. Multifunction seedling tray: These are my current favorites. The bottom tray water reservoir is deep enough that I don’t need to do much water refilling. They come with a lid for moisture retention during germination and are a great size for a small household (6.7”x6.7”). They were supposed to come with a large seed and small seed tray, but only came with the large size. Not an issue as I plant my microgreens on a hemp mat or a paper towel, but do be aware that the set is not quite as advertised.
Other thoughts: Ideally, I’d prefer to grow on something other than plastic. While I saw some stainless-steel seed trays, they were quite expensive and also didn’t look like they’d hold up for more than a few uses.
Growth Medium.
Paper towel: choose size based on the size of your seed tray. Unbleached is probably best, but I can never find unbleached paper towels so just use whatever I normally get for cleaning.
Grow mat: there are several varieties to choose from. I ordered a set of Terrafibre Hemp mats. They are a little thicker than paper towels and so retain more moisture. They also may give some bigger seeds a little more purchase and stability as they grow. Overall, I’ve not noticed a difference in germination or growth between the paper towel and grow mat.
Other thoughts: You don’t need to grow microgreens hydroponically. They grow just as well (better?) on soil, but I wanted to avoid the mess of soil and soil composting for my first foray.
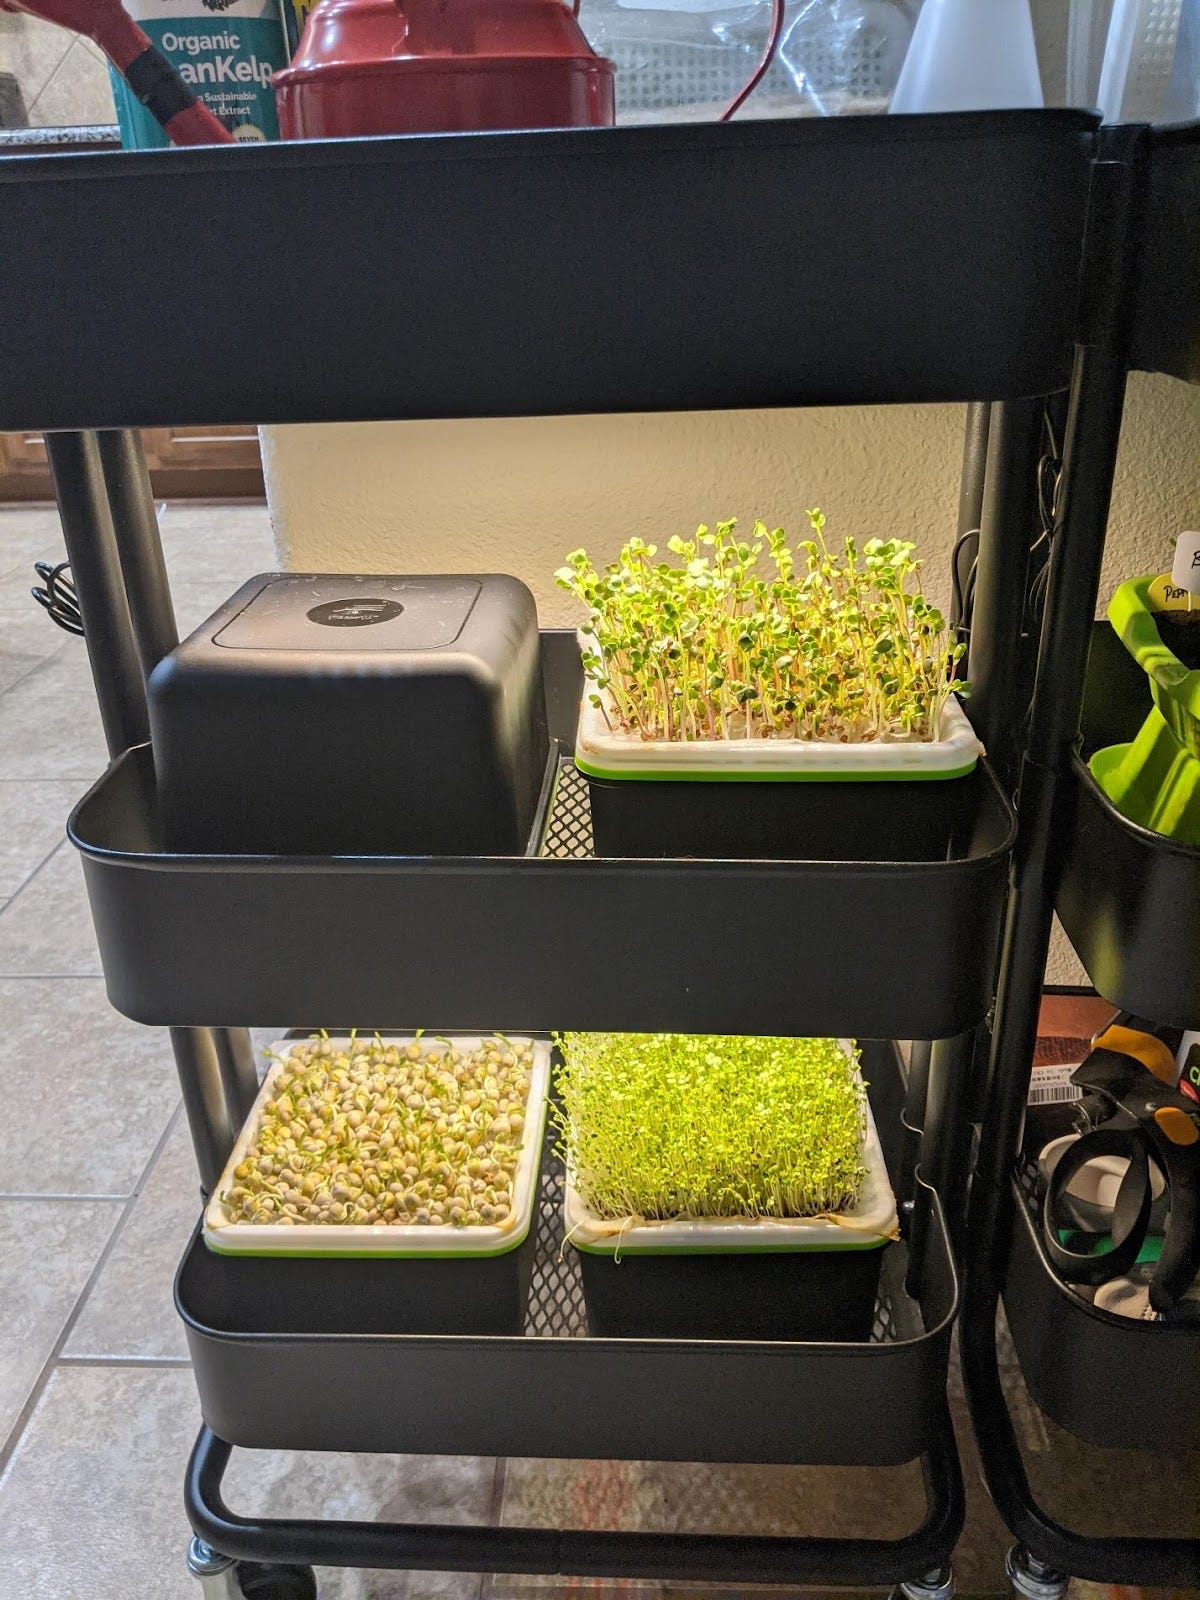
Grow Light (optional). If you have a window with good sunlight where you can place your seed trays, the grow light isn’t necessary. I used these super cheap grow lights. They aren’t very strong, but they seem to work well enough for small-scale microgreen growing. I usually set the light timer for 8 hours on/16 hours off.
Fertilizer (optional). You can add a very small amount of liquid fertilizer to the water used to grow microgreens. It seems to help growth a bit, and may make them a little tastier. However, the microgreens generally grow quite well with plain water. I’ve tried this brand with decent results. I mix about 1/2mL of fertilizer to 500mL of water.
Procedure:
Step 1: Choose the seeds you want to grow and the tray you’ll use to grow them.
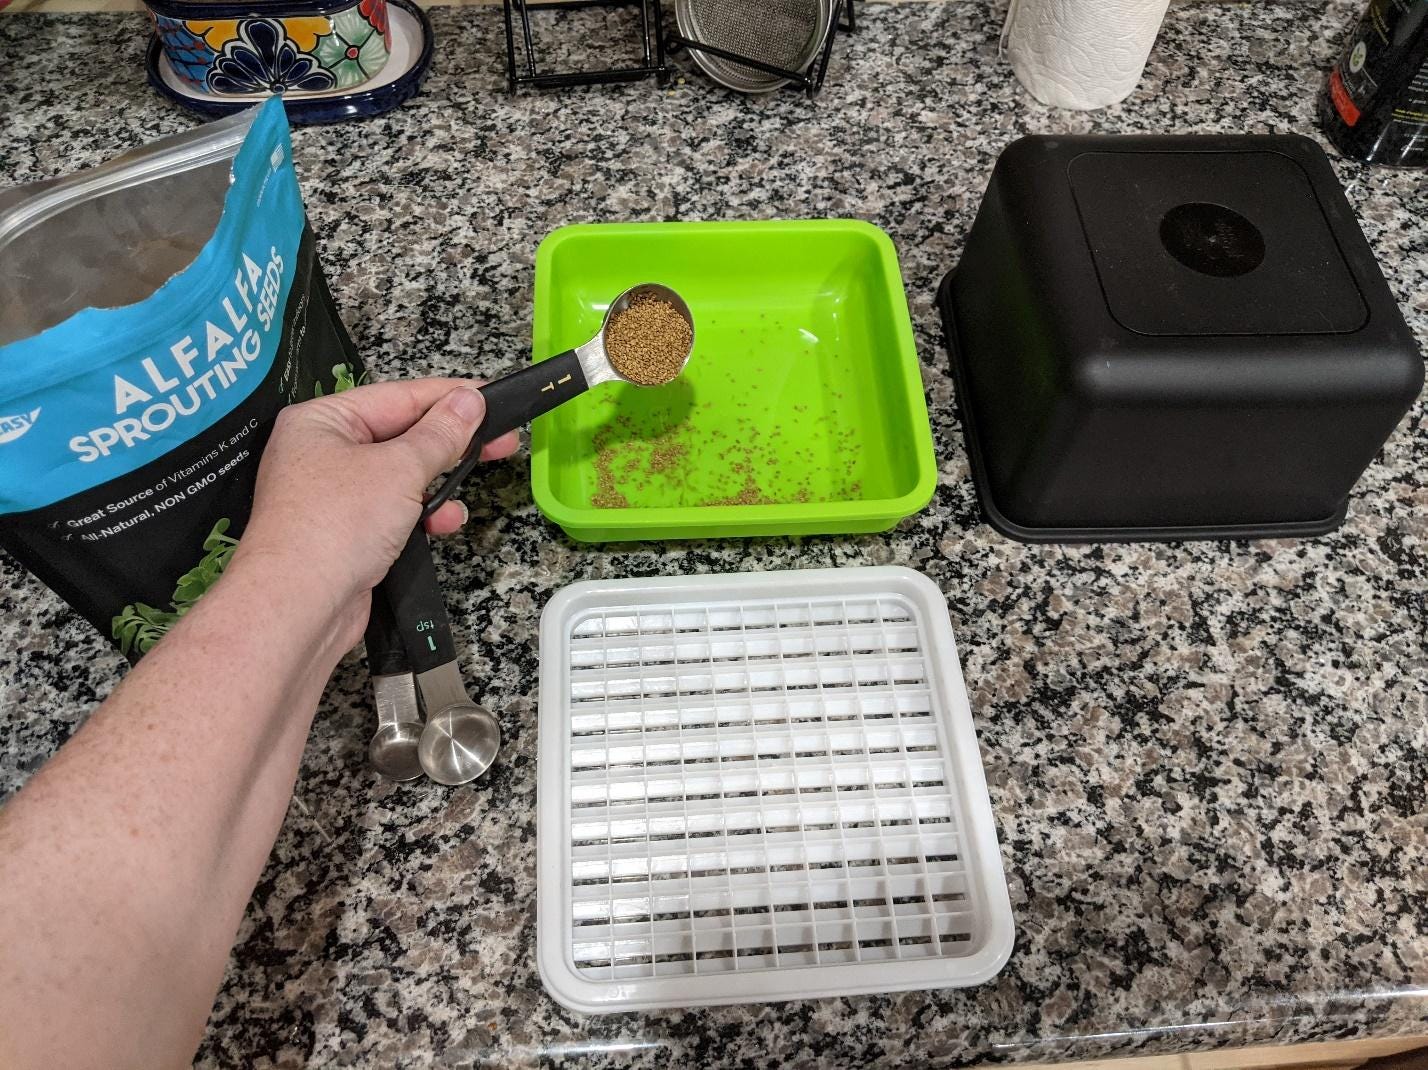
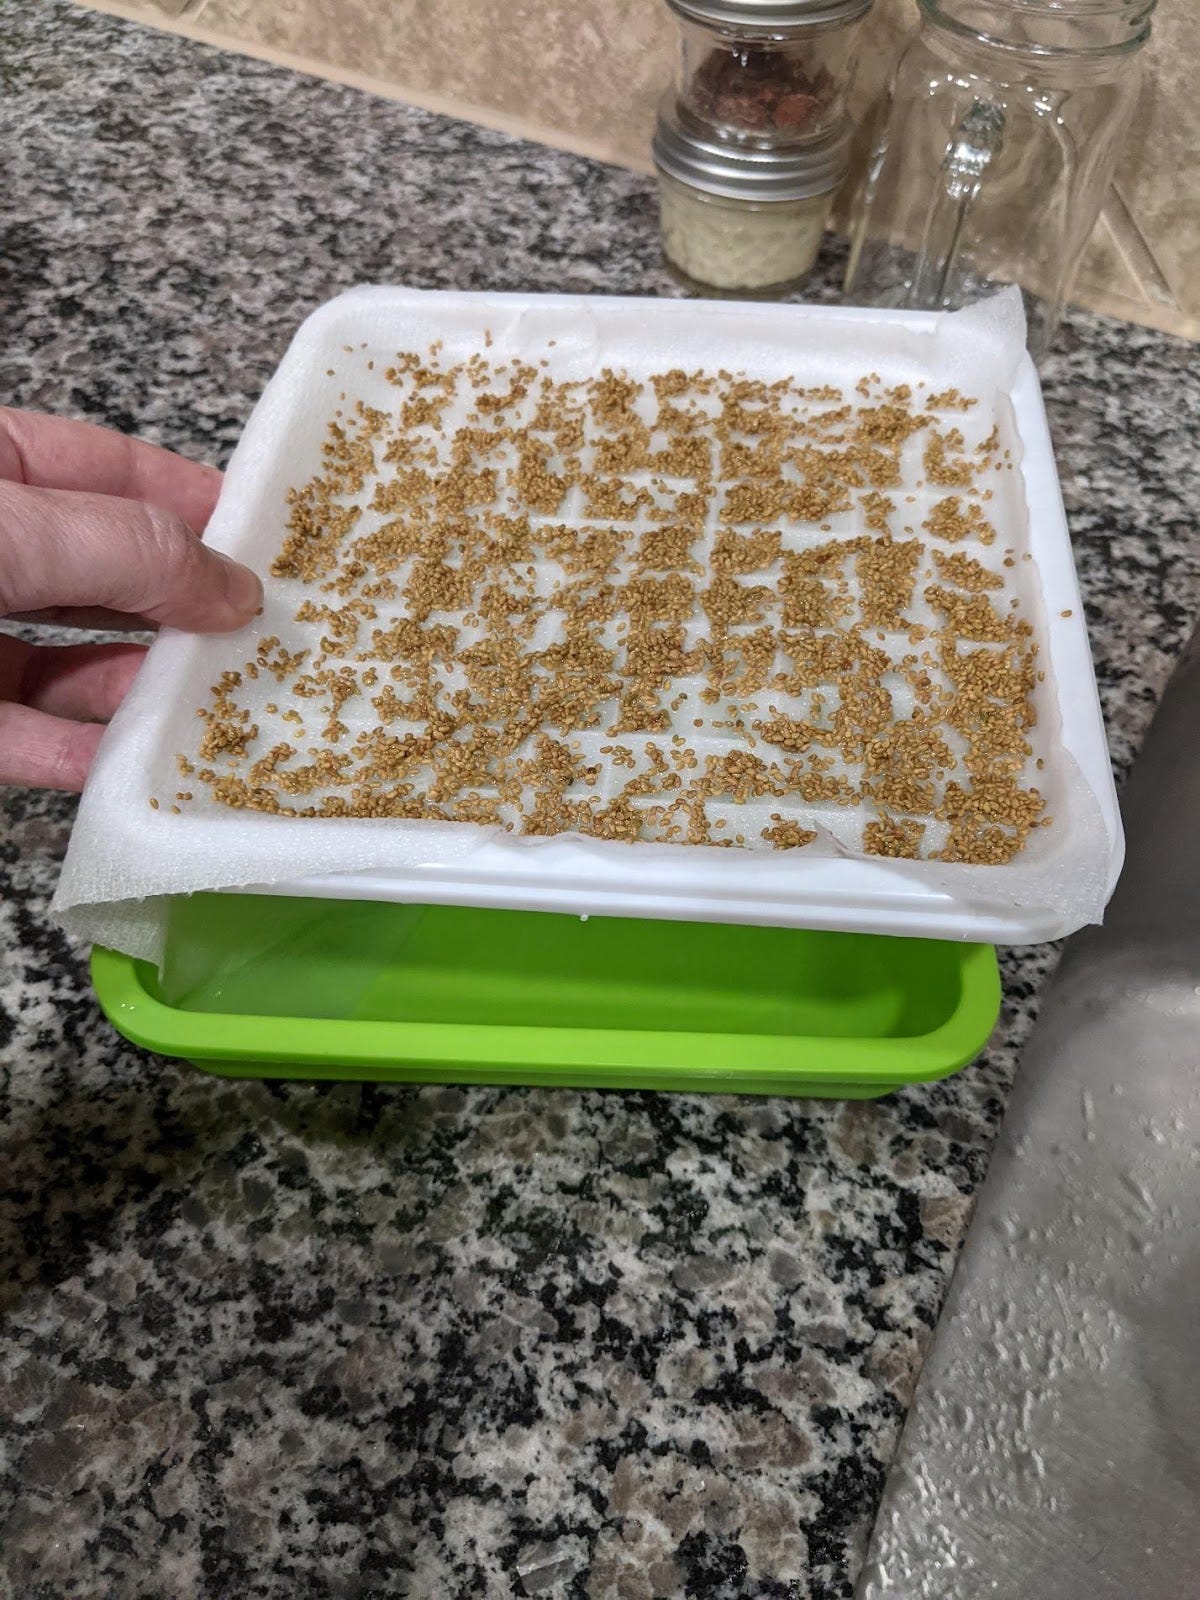
Step 2: Pour your seeds into the bottom seeds tray (green). For small seeds, ½ tbs is sufficient for these 6.7”x6.7” trays. For larger seeds (like green pea), 1 ½ tbs works well for a tray this size.
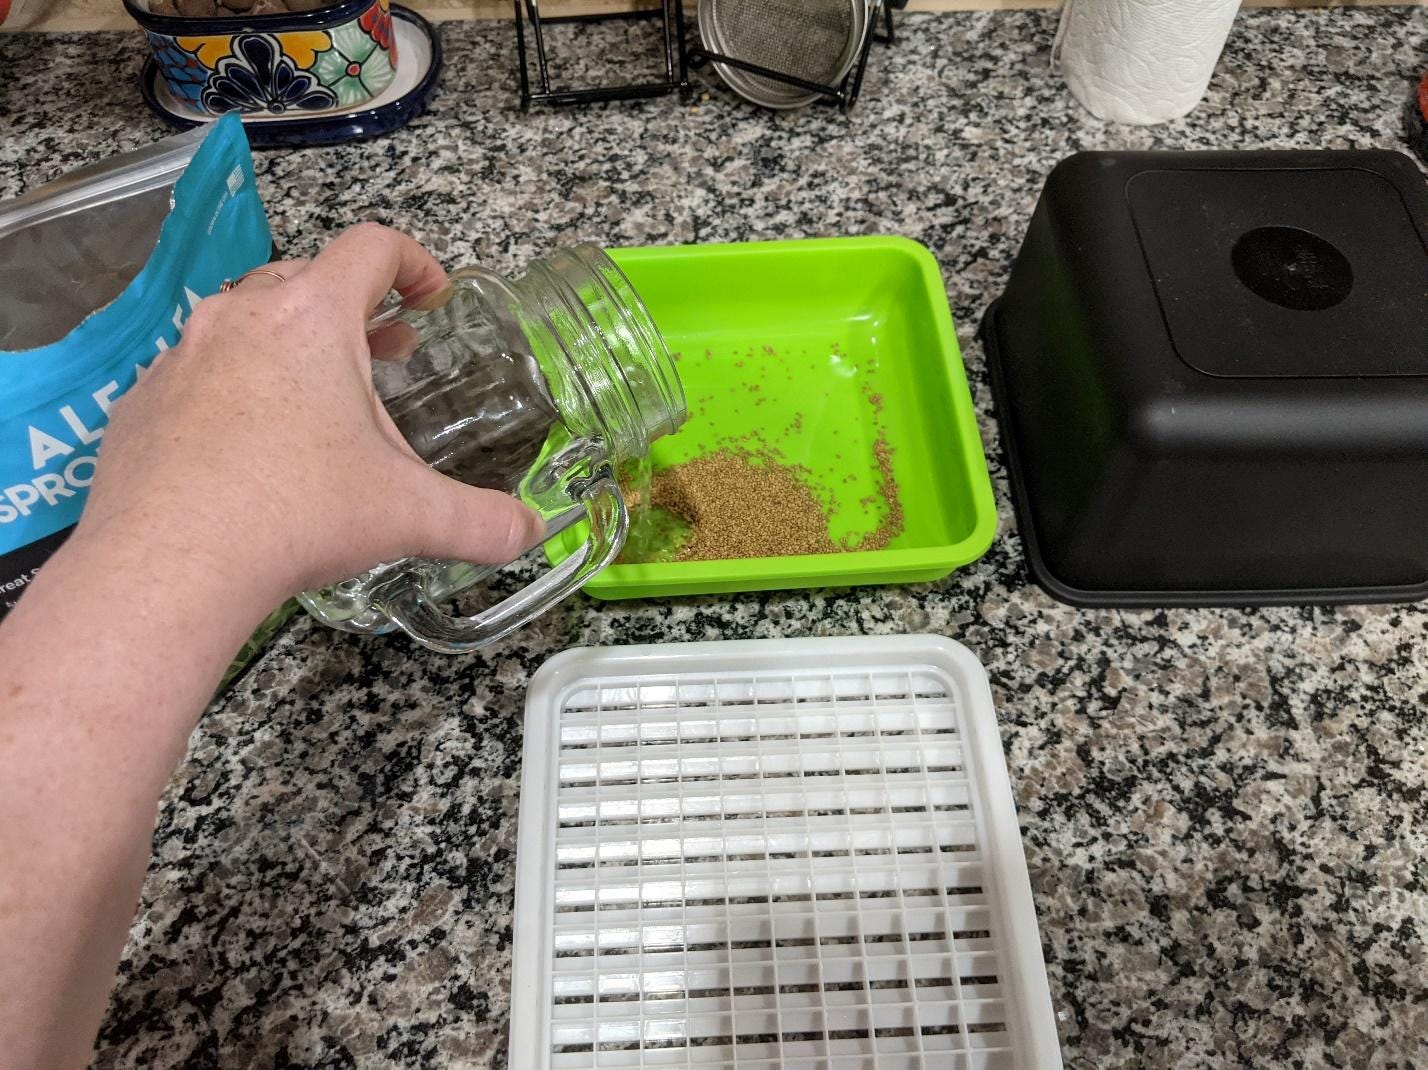
Step 3: Add water to your seeds. Many microgreen seeds should be soaked for 4-12 hours in water to improve germination rates. Radish, pea, kale, turnip should be soaked. Mustards should not be soaked. Look up your seed type for soaking requirements.
Step 4: Slosh the seeds until they have been wetted, if you are soaking your seeds.
Step 5: Place the lid on the tray and let soak for 4-12 hours (depending on seed type).
Step 6: After soaking, remove the lid and seed tray from the bottom reservoir containing the seeds. (a) Cover the seed tray with a paper towel or mat. (b) Pour the seeds onto the seed tray over the sink. (c) Use a finger or brush to evenly spread the seeds across the towel or mat. Fill the bottom reservoir with water.
Step 7: Place the lid on the seed tray and let germinate for 1-3 days depending on seed type. Note that some seeds, like radish, can release a white fuzz when they germinate. This is normal and is not mold.
Step 8: Let your microgreens grow. Remove the lid and turn on grow lights or place your trays where they will get several hours of sunlight. Check water daily, to make sure the seeds have plenty available. Add a small amount of liquid fertilizer at this stage if desired. Most common microgreens reach maturity in 7-10 days, but there are some species that take 2+ weeks to reach the microgreen stage.
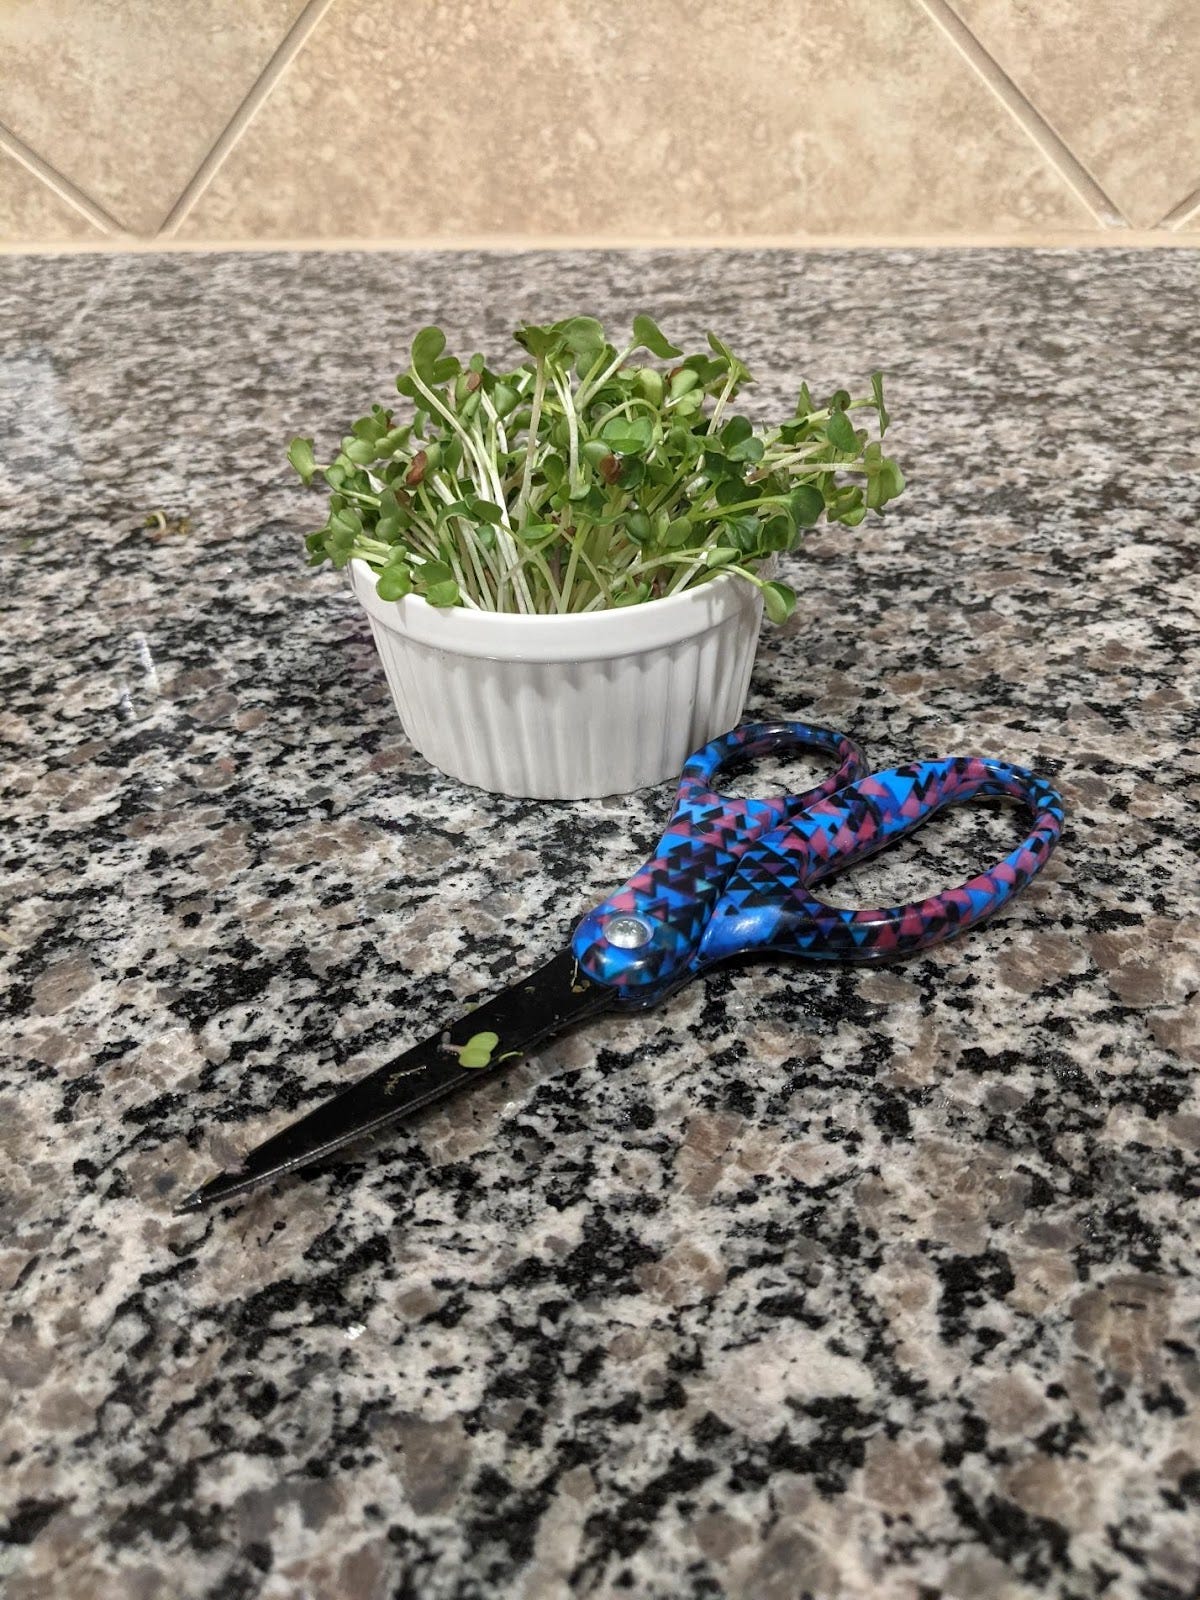
Step 9: Snip your microgreens off their mat/paper towel with clean scissors and eat!



Much more appetizing and healthier than bugs for sure. Bugs have some similarities to shellfish in that they carry some weird stuff in them such as parasites, since we dont really cook them parasites can live on in you. Re the sprouting, I would add to use unbleached or naturally bleached paper towels, sorry if I missed it if you mentioned. Dream like visualization for fun; Imagine if your whole living area was used to grow sprouts, a giant chia pet apartment all surfaces, everywhere. Except maybe the bed, that would be too weird. And the toilet seat, too weird. I have seen a vid of someone using abandoned car tops to grow food, maybe it was entire cars...oh, here it is...https://www.wapcar.my/news/thailand-taxi-companies-are-growing-food-on-abandoned-cars-to-feed-outofwork-drivers-33872
Thanks so much for the brilliant information Mrs C!