Digital Drawing Made Easy with iPad or iPhone and Paper by FiftyThree
Drawing digitally doesn't have to involve a lot of expensive tools like the Wacom tablet or a Cintiq. If you have an iPad or an iPhone, you're already well-equipped to create awesome drawings and doodles by downloading the Paper by FiftyThree app.
Note: This blog post was originally published Jan 24, 2015, and has since been updated to include information on Paper for iPhone, too! (Woo hoo!! This is big news—Paper used to be available for the iPad only!)
Pause for a little backstory: Back when Paper was only available for the iPad, I ended up purchasing and selling iPads several times just because of this app. I'd buy an iPad, thinking I'd use it all the time. I'd draw a little using Paper. But then I'd subsequently sell the iPad because I wasn't using it enough. Then I'd obsess over buying one again because I missed using Paper. It's a sad cycle that I'm very much aware of. Now, because Paper is on iPhone (and I borrow Adams' iPad), I'm all set!
Anyway, back on track.
The one really cool thing about Paper is that you can choose to export your drawings with a transparent background. This is huge for people who want to place their doodles on top of images, photos, and textures outside of the Paper app!
Have fun with it!
This is a great way to quickly add handwriting and doodles on top of photos or other images.
Step 1: Download the Paper by FiftyThree App
Good news, the app is free for iPads and iPhones! The add-ons used to cost money, but Paper went ahead and made them free. Plus, they keep adding new tools all the time.
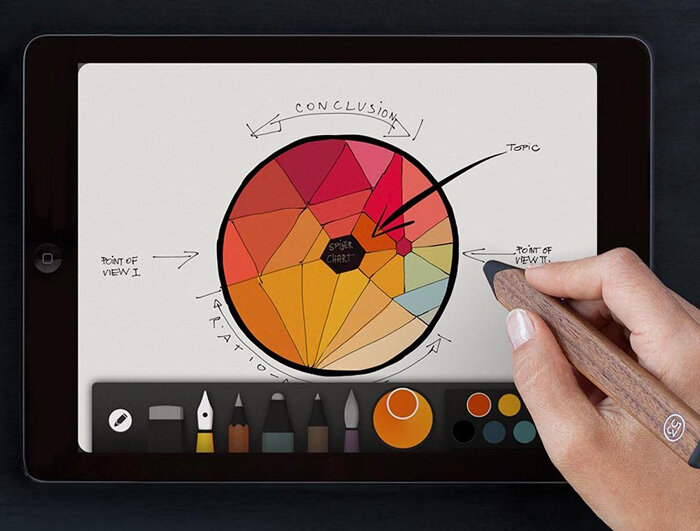
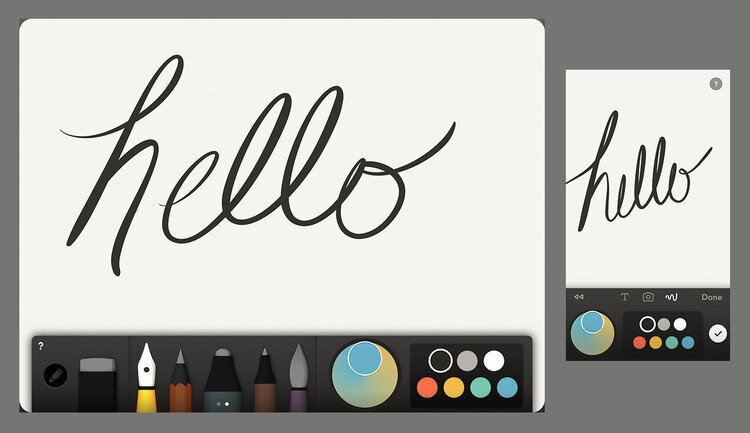
Step 2: Get Used to the Paper App
Drawing with Paper takes a bit of practice, but it's very fun once you get the hang of it.
Some key gestures:
Undo: For the iPad, use two fingers and draw a circle counterclockwise to wind the clock back. Draw the same circle clockwise to redo. For the iPhone, use a two-finger double-tap to undo. Or, two-finger double-tap and then rewind the dial back when prompted.
Zoom: Use your thumb and pointer finger to zoom in on a specific area of your drawing. If you're on an iPad, tap and drag the black border of the magnifying glass to move the zoomed area around.
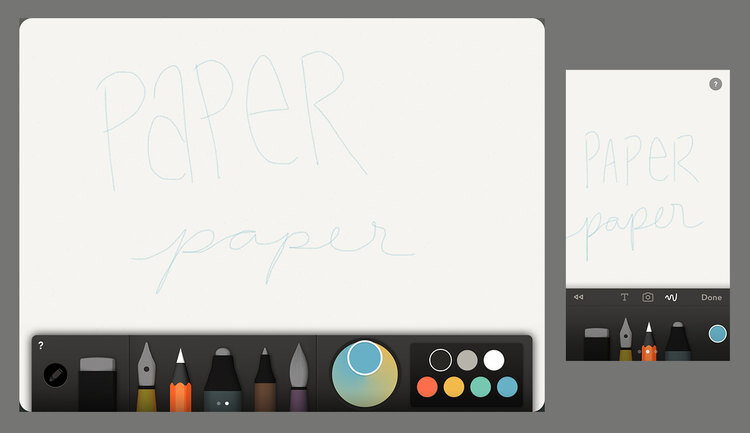
Swipe Up: When you're drawing on the iPad, you can access the tool tray by swiping up from the bottom. Try doing this away from the center so Control Panel doesn't come up instead.
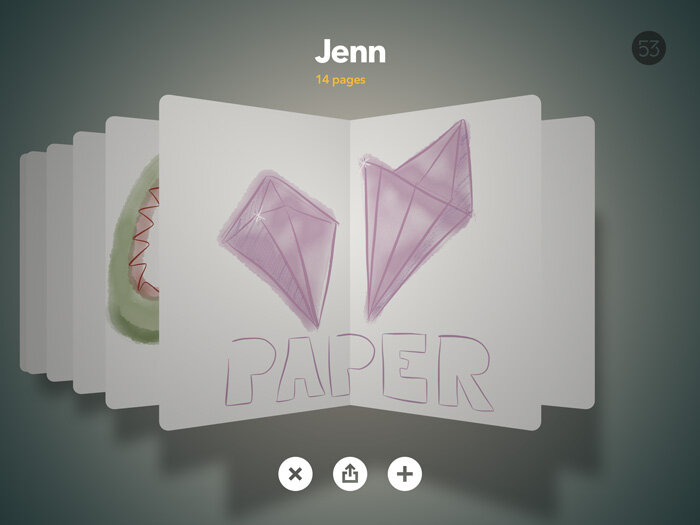
Pinch: Pinch your drawing to go back to notebook or tile view. This is where you can organize your drawings and share them (more on that later).
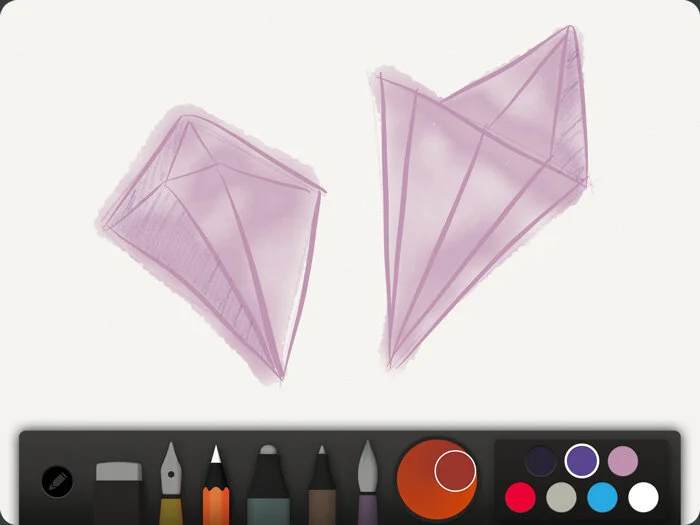
Depending on what I'm doing, sometimes I will start with light pencil marks for reference, much like I would on paper.
The watercolor brush is my absolute favorite. Just note that every time you pick up your finger, it will start a new watercolor blob. Sometimes it helps to plan ahead and have a large watercolor blob mass or else it gets too layer-y.

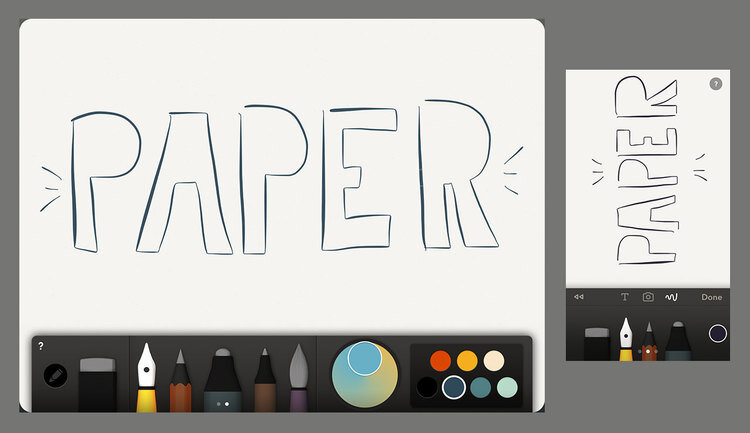
The fountain pen will create thin, saturated lines which will get thicker if you move your finger across the page quickly.
The marker provides a single-width bold stroke. It will get slightly more saturated if you go over an area more than once.

A note on the Pencil stylus: I've tried it and I'm not a fan; I can't recommend it. I typically just use my finger or the old Bamboo Stylus.
Step 3: Draw Your Stuff!
Draw your stuff using your digital weapon of choice. Have fun with it!
Step 4: Change Paper Settings to Remove Background
Before you save your drawing, you need to change a setting in Paper so the background won't be exported. This way, you'll get a nice drawing with a transparent background, which will allow you to place your doodles on top of any image you please!
Within Paper, pinch your drawing area to get to the main screen. Then, click on your avatar to access settings.
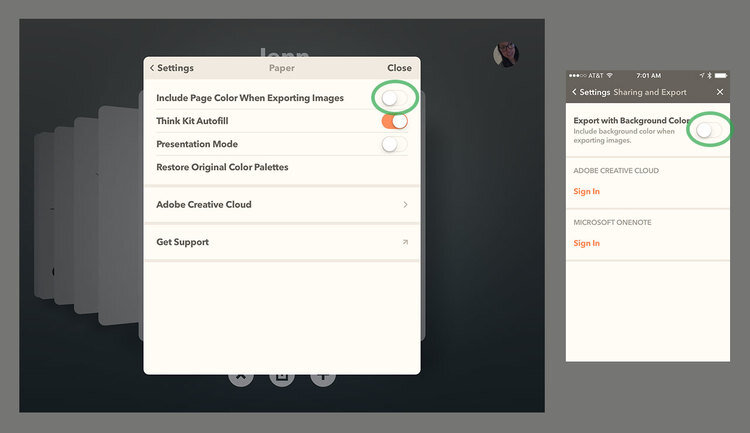
For the iPad, go to Paper settings, and then turn off the toggle for “Include Page Color When Exporting Images”.
For the iPhone, click on the gear to access settings, then click on Sharing and Export. Then, turn off the toggle for “Export with Background Color”.
Once you've changed this setting once, you're all set for future drawings (unless you change your setting again, of course).
Step 5: Share and Save Your Drawing
Go back to your drawing within Paper. Pinch the page to manage and share your files. Tap the share icon, then tap “Share to…” or “Share as Image”. On the following screen, tap the icon to Save Image, which will save it to your Photos (sans-background!).
Next we're going to place your drawing on top of a photo in Photoshop. Go ahead and transfer your drawing to your computer. Email or Message the photos to yourself.
Step 6: Place Your Drawing on a Photo in Photoshop
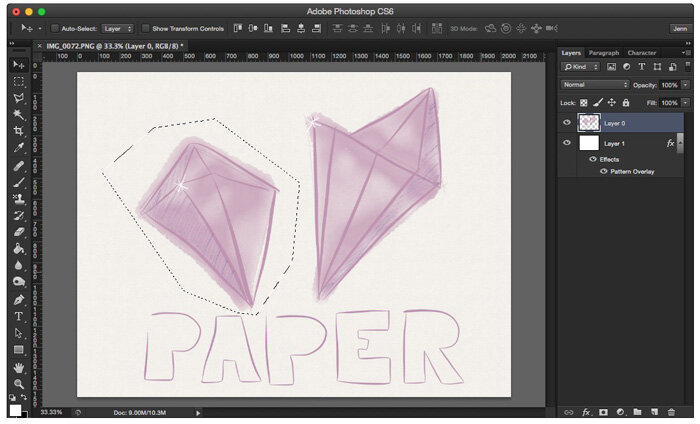
Now, open your images in Photoshop. Because they don't have a background saved, they'll show up as a PNG file type, which has a transparent background.

Move stuff around and play with your images as desired. If you draw several separate, non-overlapping items, you can move them around by selecting them first with the marquee (M) or lasso tool (L).
Here's your chance to add a fun background or place your doodles on top of photos, too. I love these Free Rice Paper Textures.
This also works for sketchy pencil drawings and any other style you can think of.


Have fun with the app and transparent background tip. Please share your graphics you create - I'd love to see them!
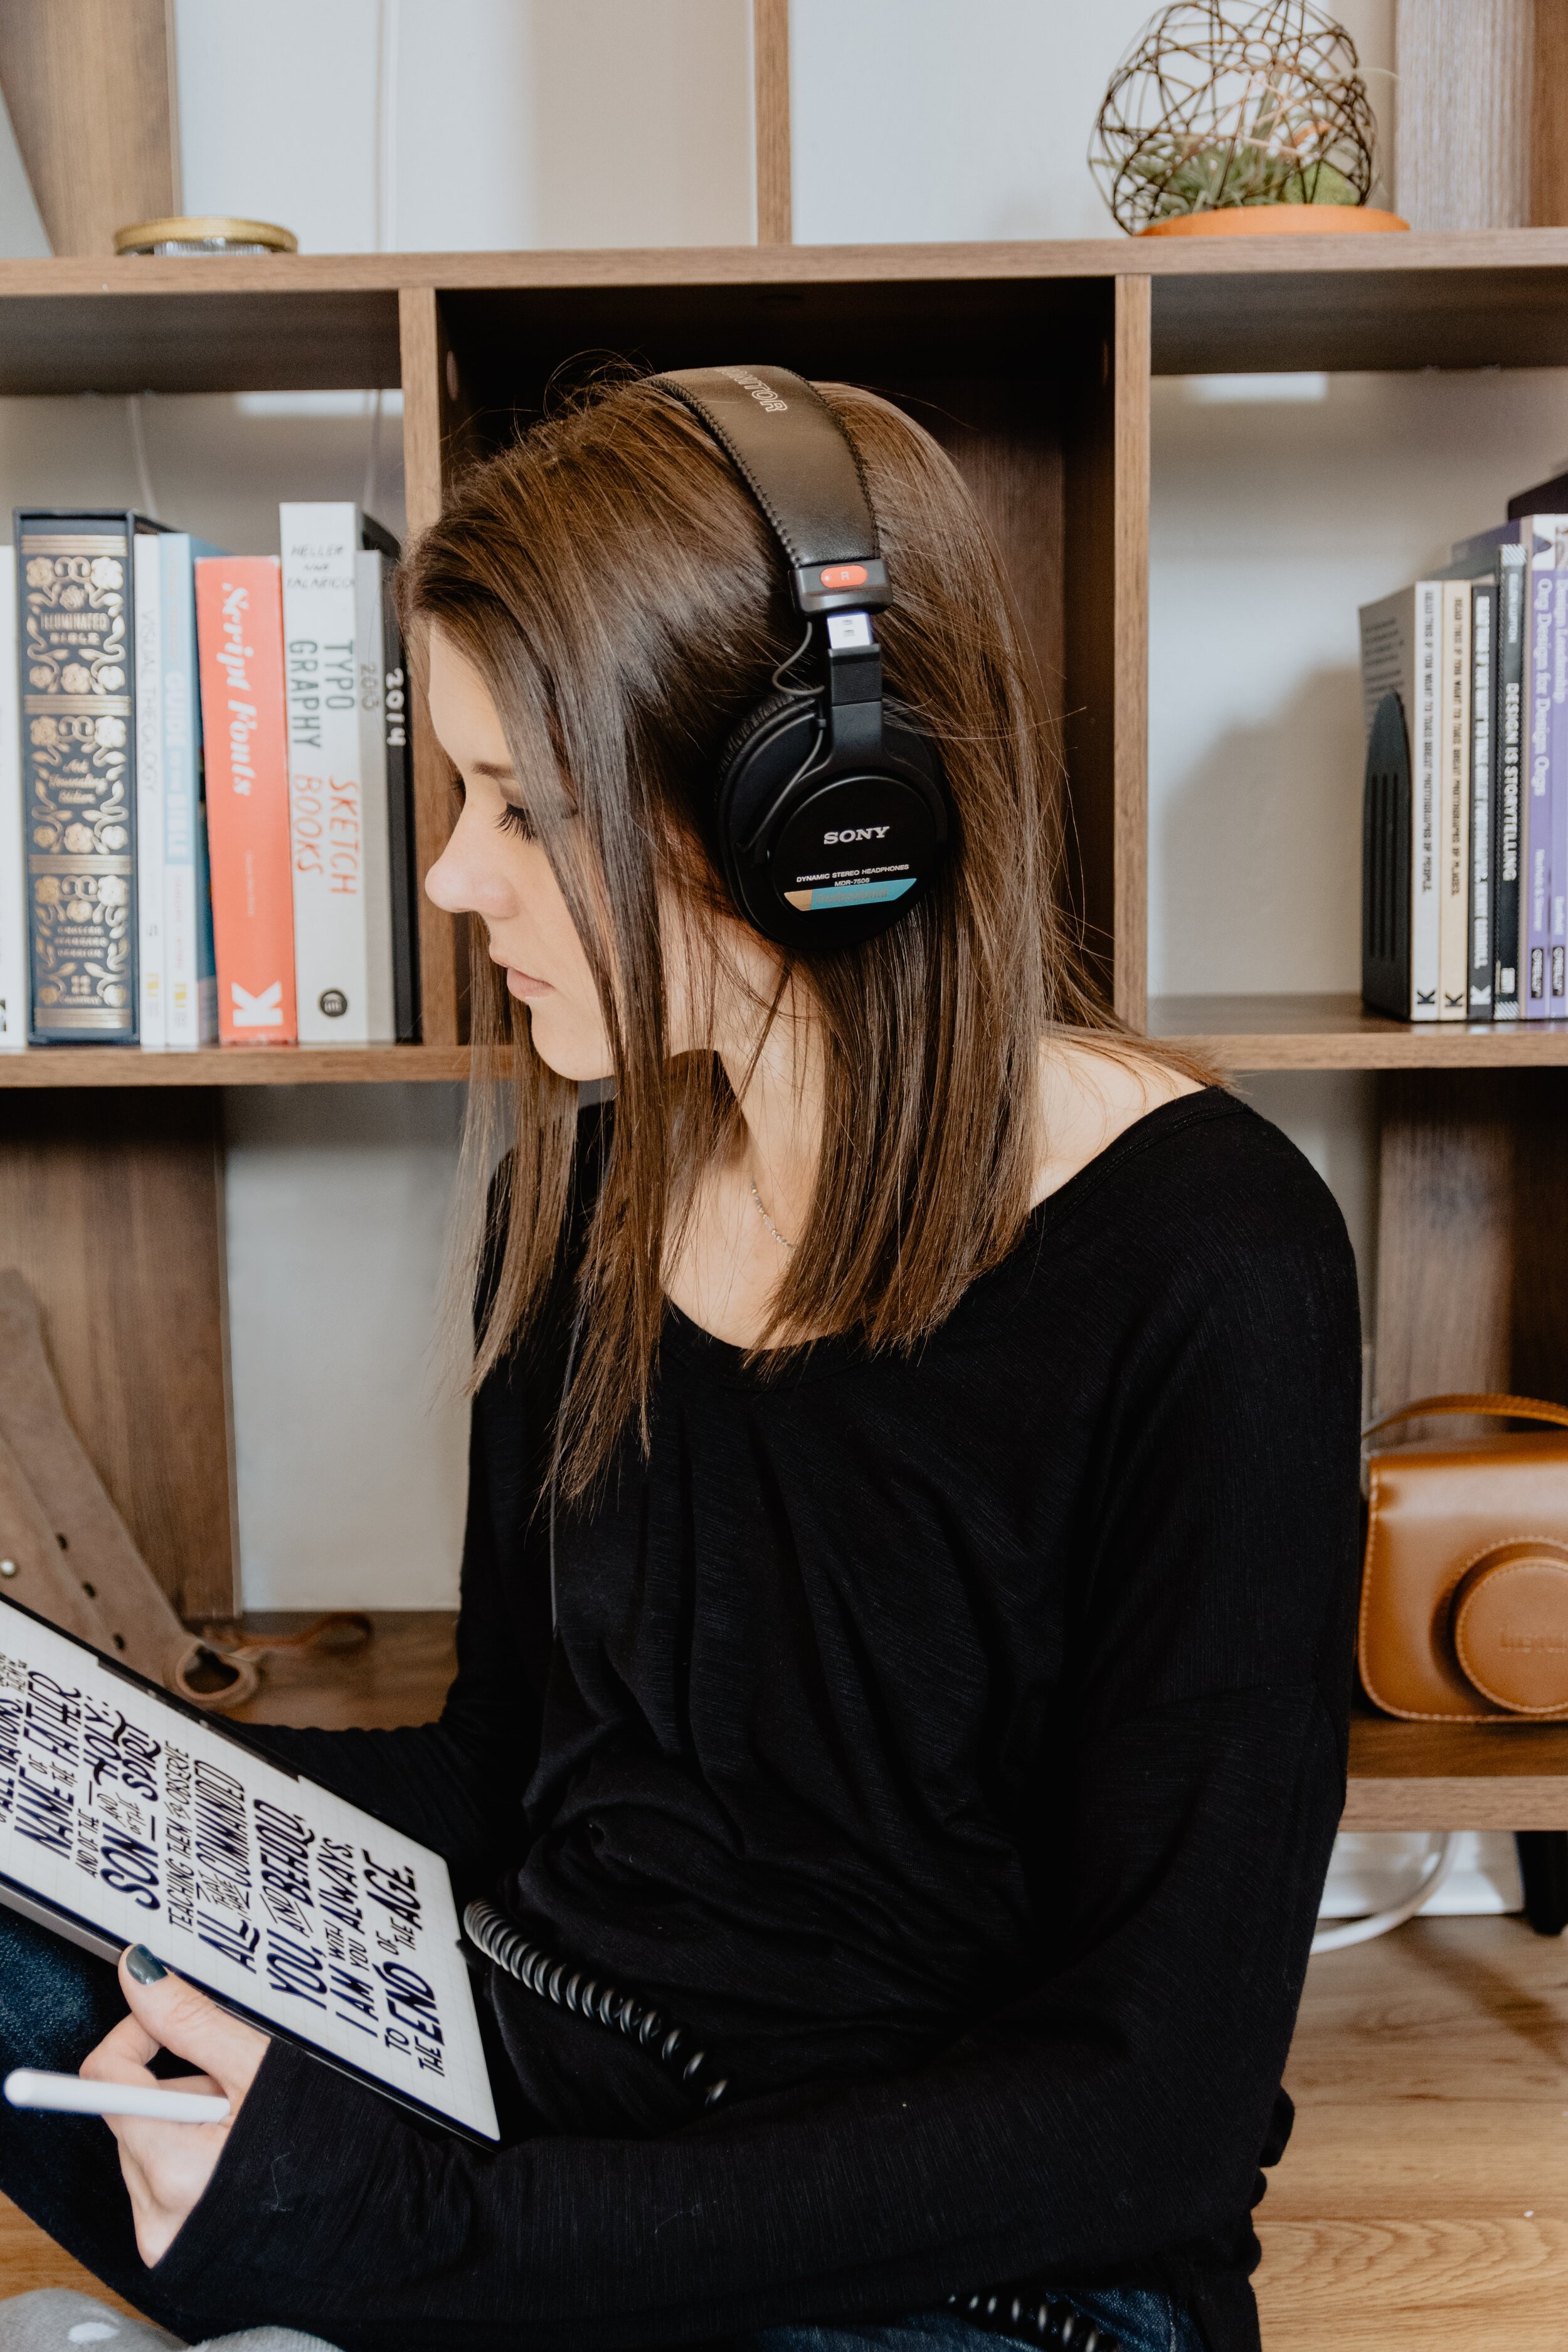
Cover photo by Kelly Sikkema